Blender Architectural Rendering: Complete 2026 Guide
Blender is free, open source, and powerful enough to produce architectural renders that stand beside work from software costing thousands of dollars a year. That combination is why more architects try Blender every year, and why many never leave. Blender handles the whole archviz pipeline in one program: modelling, materials, lighting, cameras, rendering, and even animation and post-production. Blender was built for film and games, not for architects, so its interface feels foreign at first. This guide walks through the complete Blender archviz workflow, from your first import to a finished render.
Why architects use Blender in 2026
Blender's biggest advantage is the price: zero. No subscription, no licence server, no per-seat cost, and no feature locked behind a higher tier. The second advantage is the community: thousands of free tutorials, add-ons, materials, and models, so almost every problem you meet has already been solved. The third advantage is capability. Blender's Cycles renderer produces physically accurate light, its Eevee engine renders in real time, and its geometry nodes can generate facades and landscapes procedurally. Blender is not a CAD tool, so it will not replace Revit or ArchiCAD for documentation, and its learning curve is steeper than Lumion or Enscape. Our best rendering software roundup compares Blender with the paid renderers.
Getting started: interface and first steps
Open Blender and you meet an interface that looks nothing like SketchUp, so spend your first hour learning the basics instead of fighting them. The viewport is the 3D window where you work. The outliner lists every object, and the properties panel holds materials, lights, cameras, and render settings. Learn the keyboard shortcuts early: G moves an object, R rotates it, S scales it, and the number keys switch views. Download Blender from blender.org and install the current stable version, 4.x in 2026. Before you model anything, set the units to metres, set the render engine to Cycles for finals, and enable the included Node Wrangler add-on, which makes material work far faster.
Importing CAD, SketchUp, and IFC models
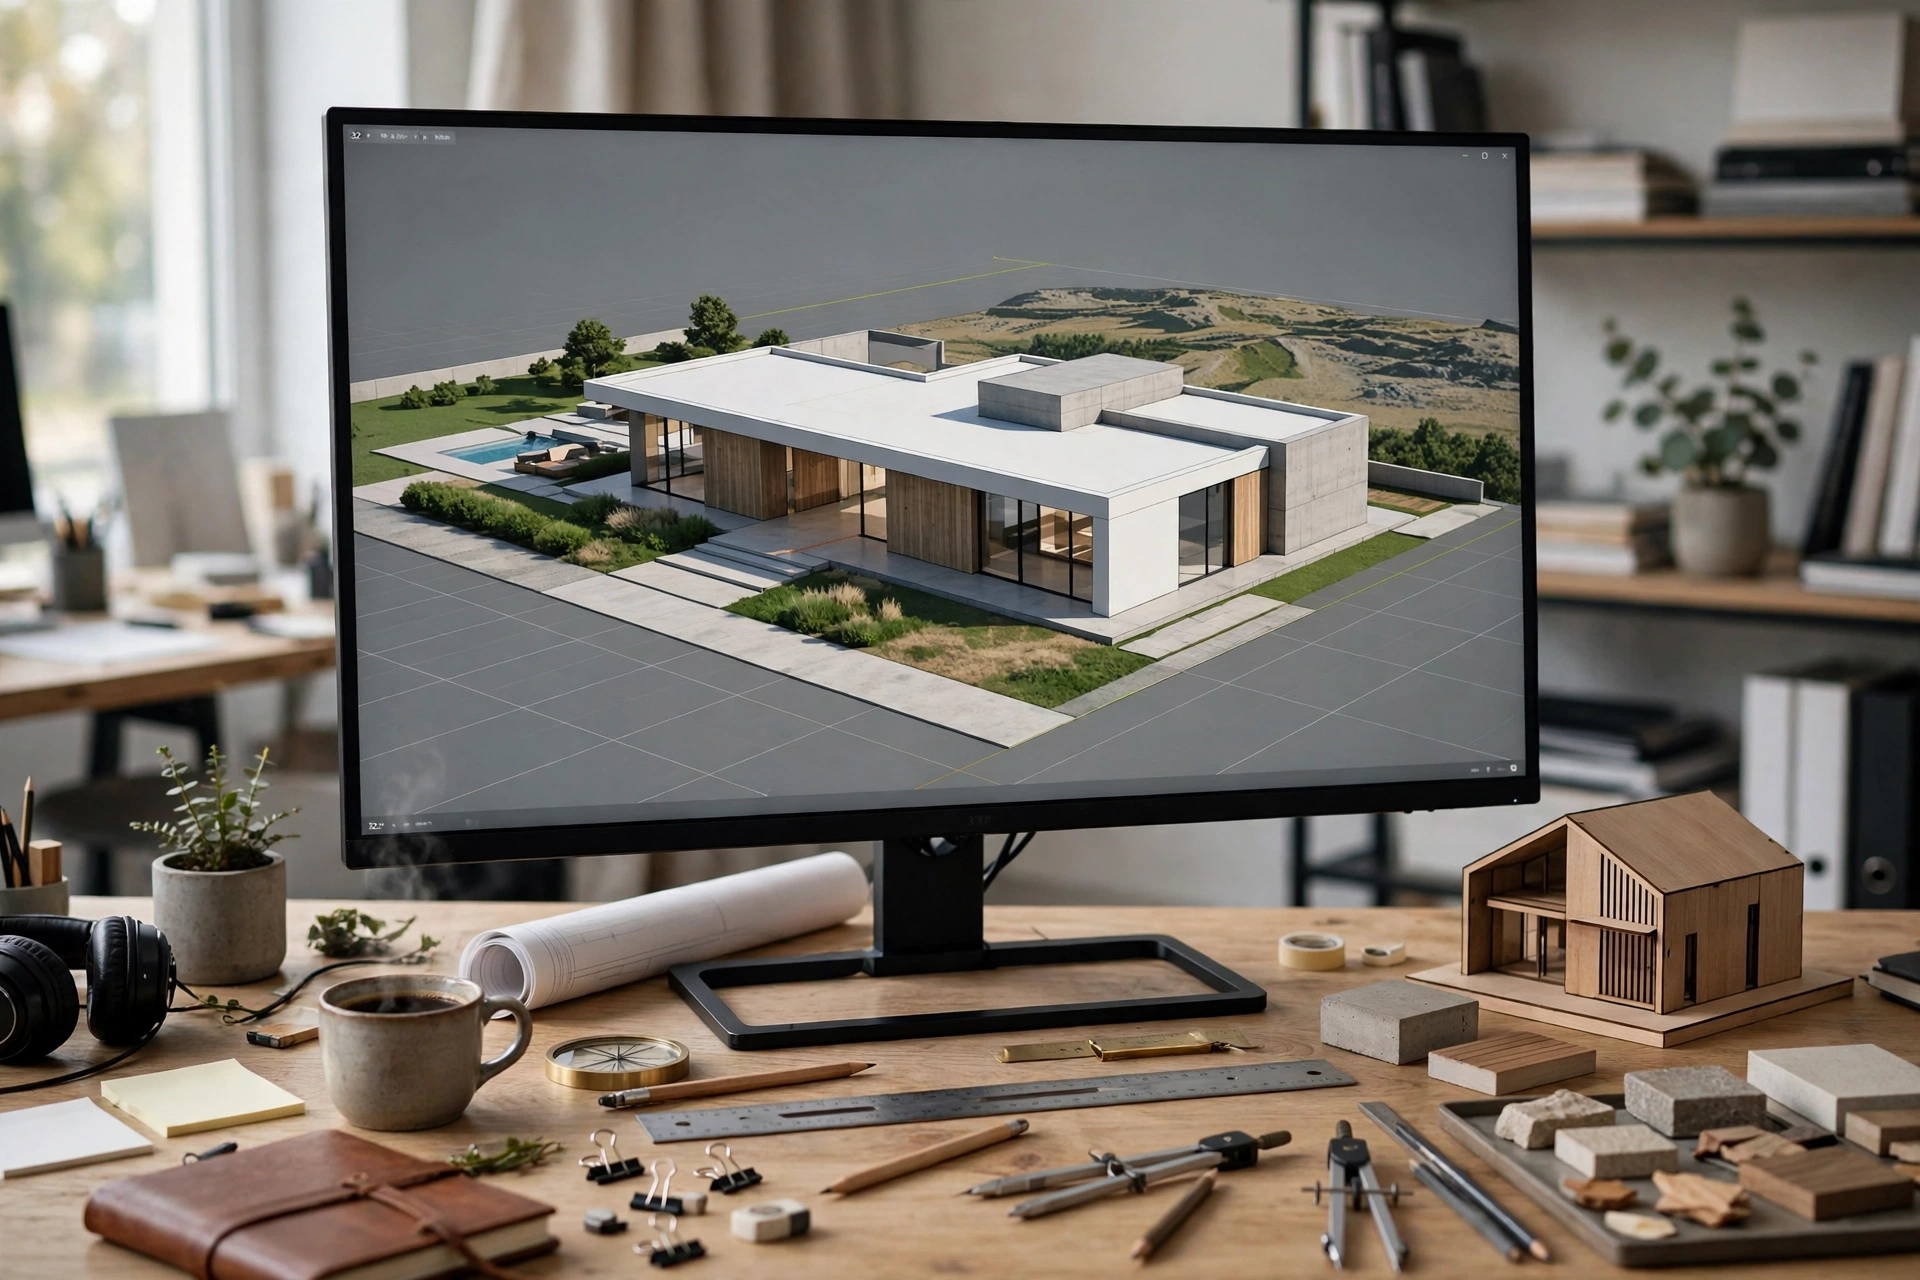
Most architects do not model in Blender, they import a model built elsewhere, and this step decides whether the project goes smoothly. Blender imports FBX, OBJ, and glTF files directly, and it reads IFC files through the free BlenderBIM add-on, which is the route for Revit and ArchiCAD models. SketchUp models need one extra step: export as FBX or COLLADA first. After import, check three things before you do anything else. First, the scale: select an object and confirm its dimensions in metres, because a model imported in millimetres will be a thousand times too large. Second, the origin: move the model near the world origin so cameras and lights behave sensibly. Third, the geometry: delete hidden objects, unused layers, and stray geometry far from the building, because a messy import slows every later step. A clean import takes twenty minutes and saves hours later.
Materials with Cycles and Eevee
Materials in Blender are built with nodes, which sounds technical but follows one simple idea: each material is a small network of textures and values that describe a surface. Start with the Principled BSDF shader and learn its five controls: base colour, roughness, metallic, normal, and bump. Wood needs a roughness around 0.5 to 0.7 and a visible grain texture. Polished concrete is smoother, around 0.2 to 0.3. Glass uses a transmission value of 1 with a roughness near zero. Download free PBR texture sets from Poly Haven and plug each map into the matching socket. Set the texture scale so materials match real dimensions: floorboards 12 to 20 centimetres wide, brick courses about 7 centimetres high. The Cycles renderer calculates materials physically, so a correct roughness value matters more than a pretty colour. Use Eevee for previews, but Cycles for finals, because it handles reflections and indirect light better. Our photorealistic materials guide lists believable values for the common materials.
Lighting with HDRI and sun
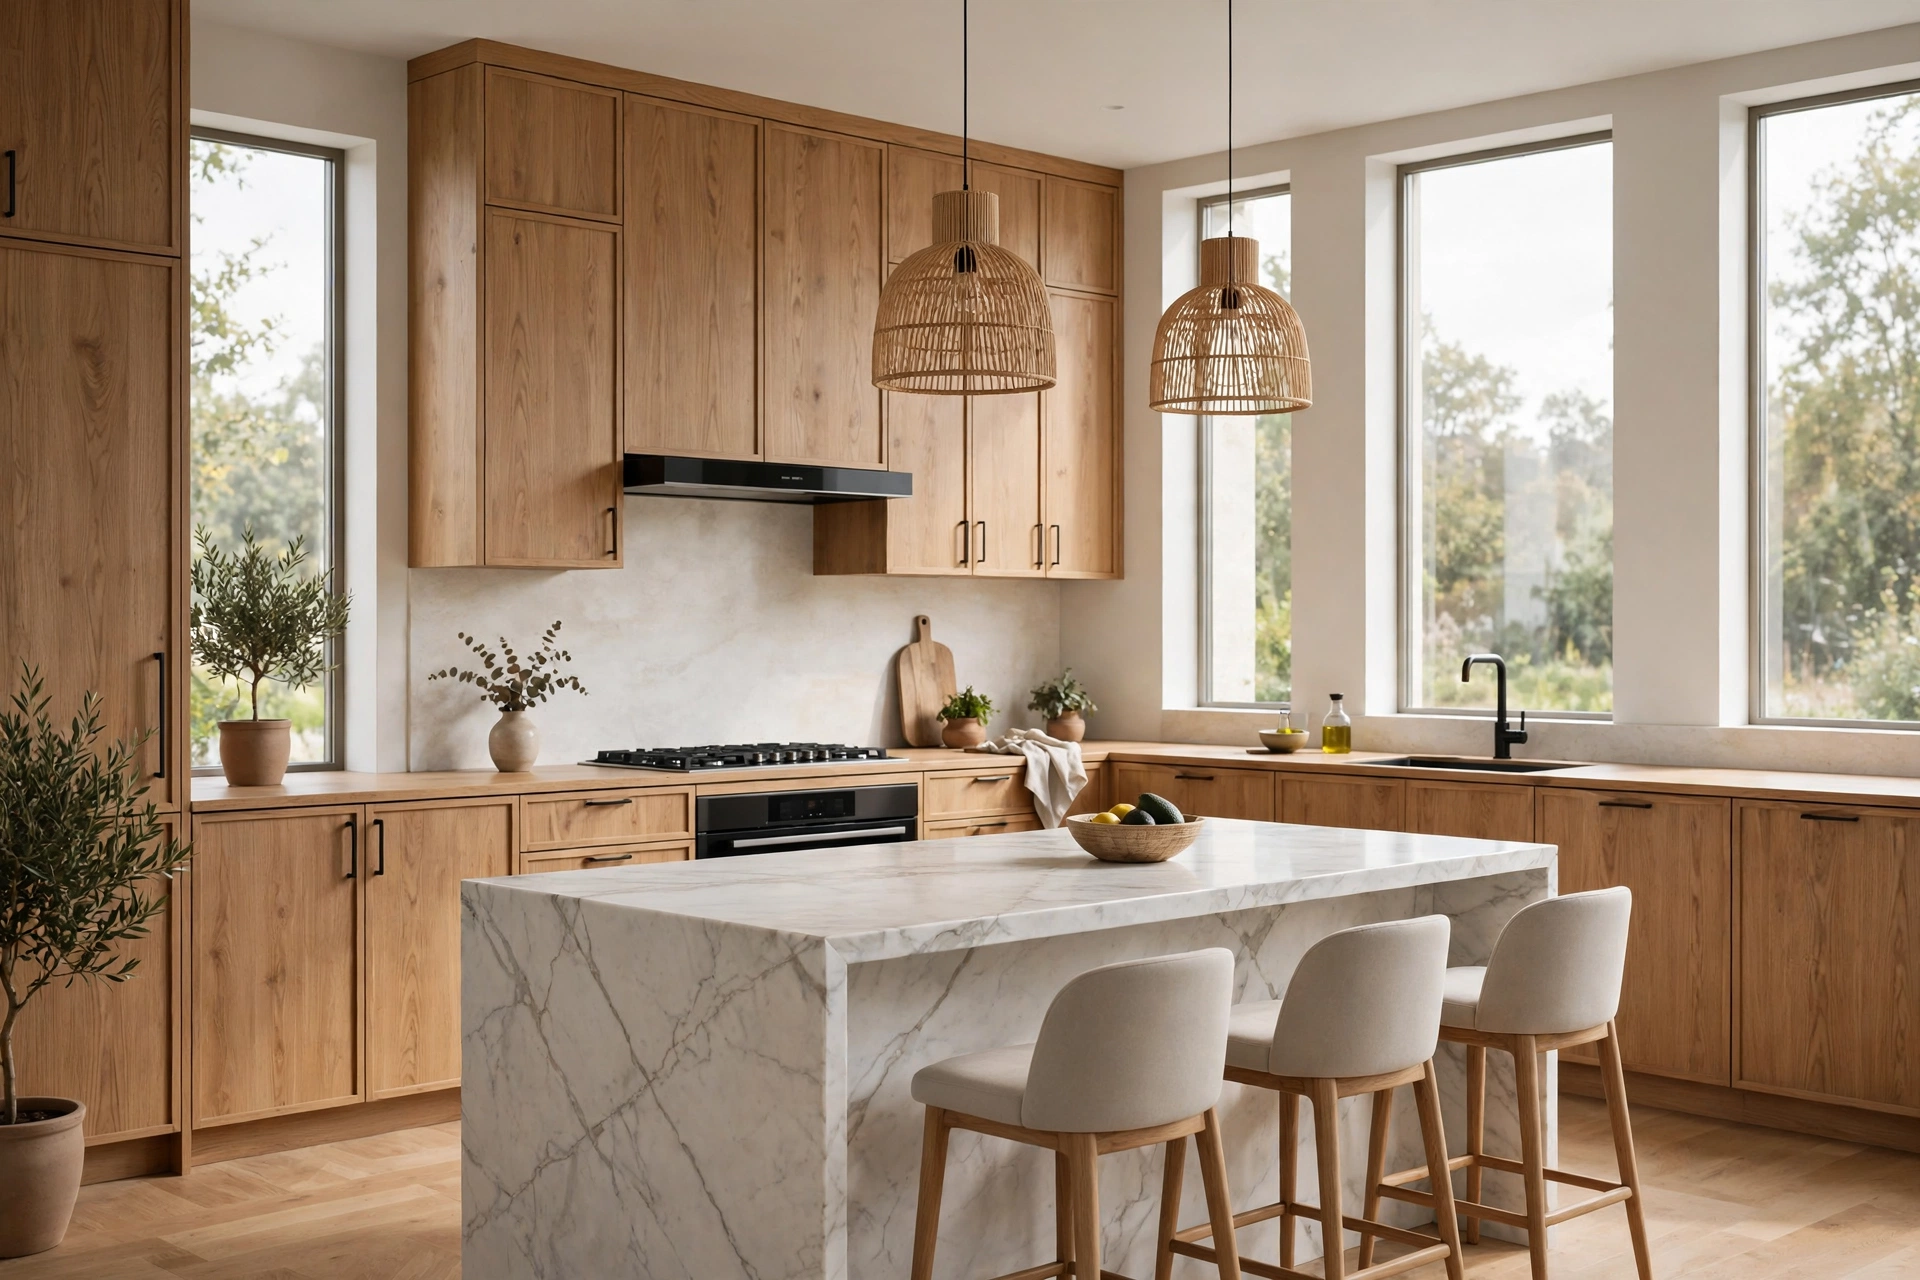
Lighting is where Blender renders win or lose, and the fastest route to good light is an HDRI environment map. An HDRI is a 360-degree photograph of a real sky, and it lights your whole scene with realistic colour and direction in one step. Add a free HDRI from Poly Haven in the world properties, and your interior immediately has believable daylight and reflections. For interiors, place area lights where the design has real fixtures: a large soft light outside each window acts like daylight, and small warm point lights mark the lamps. Set the colour temperature to warm white, around 2700K to 3000K, for living spaces. The most common beginner error is lighting everything at full strength, which flattens the image. Let corners stay a little dark, because contrast is what makes a room feel real. For the setups professionals use, read our realistic interior lighting guide.
Cameras and composition
A render is a photograph, so treat the camera like one. Add a camera, set it to eye level, around 150 to 160 centimetres for interiors, and keep vertical lines straight by using the shift settings instead of tilting it. A focal length of 24mm to 35mm suits most interiors, while anything wider than 20mm bends straight lines and makes rooms look like a fisheye photograph. Leave breathing room around the edges so nothing important is cut in half. Lock the camera to the view while you frame the shot, then unlock it before you render. Save several cameras for the views your client needs. Check the depth of field too: a slight blur on the background makes the subject stand out, but too much looks like a miniature. Our camera angles guide covers the angles professionals use, with the focal lengths that work.
Rendering settings that work
Render settings are where beginners waste the most time, so use settings that work and change them only when you know why. For a final still in Cycles, set the resolution to at least 3000 pixels on the long edge, and 5000 or more for print. Use 256 to 512 samples for a clean interior image, with denoising turned on to remove the grain. Use GPU rendering, because it is several times faster than CPU rendering. For previews, switch to Eevee or drop the samples to 64, so you can check the composition in seconds instead of minutes. Save your renders as 16-bit PNG or OpenEXR files, because these keep the full dynamic range for post-production, while JPG throws detail away. Our 3ds Max archviz workflow shows how the professional pipeline differs.
Post-production and add-ons
A raw render is unfinished by design, and Blender's compositor plus a few free add-ons finish it. In the compositor, add a subtle vignette, lift the shadows slightly, and correct the white balance, because the raw render is usually a little flat. Finish the image in Photoshop or GIMP: adjust exposure and contrast, and check it at 100 percent zoom for defects. Three free add-ons transform the workflow. Archipack generates walls, doors, windows, stairs, and roofs parametrically, so a shell goes up in minutes. BlenderBIM imports and exports IFC files, which connects Blender to Revit and ArchiCAD projects. Scatter fills lawns and slopes with grass and trees that vary in scale and rotation. Before you deliver anything, run our render quality checklist.
Five beginner mistakes to avoid
Most Blender beginners make the same five mistakes, and all five are easy to fix. First, they skip the import cleanup and blame Blender for slow performance, when deleting hidden geometry would fix it. Second, they use materials straight from a texture site without setting the scale, so floorboards look like planks and brick courses look like a dollhouse. Third, they light every room at full brightness and lose all contrast. Fourth, they render at low sample counts without denoising, so the image is full of grain. Fifth, they export JPG files and wonder why the post-production has no detail to work with. Avoid these five and your first Blender render will look better than most beginners' tenth. Our 3D rendering cost per image breakdown shows where Blender saves money.
Frequently asked questions
Is Blender really free for commercial archviz work?
Yes. Blender is open source under the GPL licence, so you can use it for commercial projects, including client work, without paying anything or asking permission. Studios of every size use it for paid work.
Is Blender good for architectural rendering?
Yes. Blender's Cycles renderer produces physically accurate light and materials, and its Eevee engine renders in real time. Many studios use Blender for finals, and it competes with paid renderers on quality.
Can Blender import SketchUp and Revit models?
Yes. SketchUp models import as FBX or COLLADA, and Revit or ArchiCAD models import through the free BlenderBIM add-on, which reads IFC files.
How long does it take to learn Blender for archviz?
Expect one to two weeks to produce your first presentable render, and two to three months to feel confident.
Do I need a powerful computer for Blender?
A mid-range GPU with 8 GB of video memory handles most residential scenes well, and 16 GB of system RAM is the practical minimum.
Should I use Cycles or Eevee for finals?
Use Cycles for final still images, because it calculates light physically and handles reflections and indirect light better. Use Eevee for previews, client meetings, and animations where speed matters more than fine detail.
Free does not mean amateur
Blender proves that the price of a tool does not decide the quality of the work. Model cleanly, tune your materials, light with an HDRI and a matched sun, and render with enough samples and denoising, and your images will stand beside work from software costing thousands a year. If you would like finished renders that match your drawings exactly, send us your brief and tell us about your project. Our team will prepare a fixed quote and a clear timeline, because a free tool in skilled hands starts the conversation, and a professional render closes the sale.
Written by
Architecture Designing Team
3D Visualization Studio