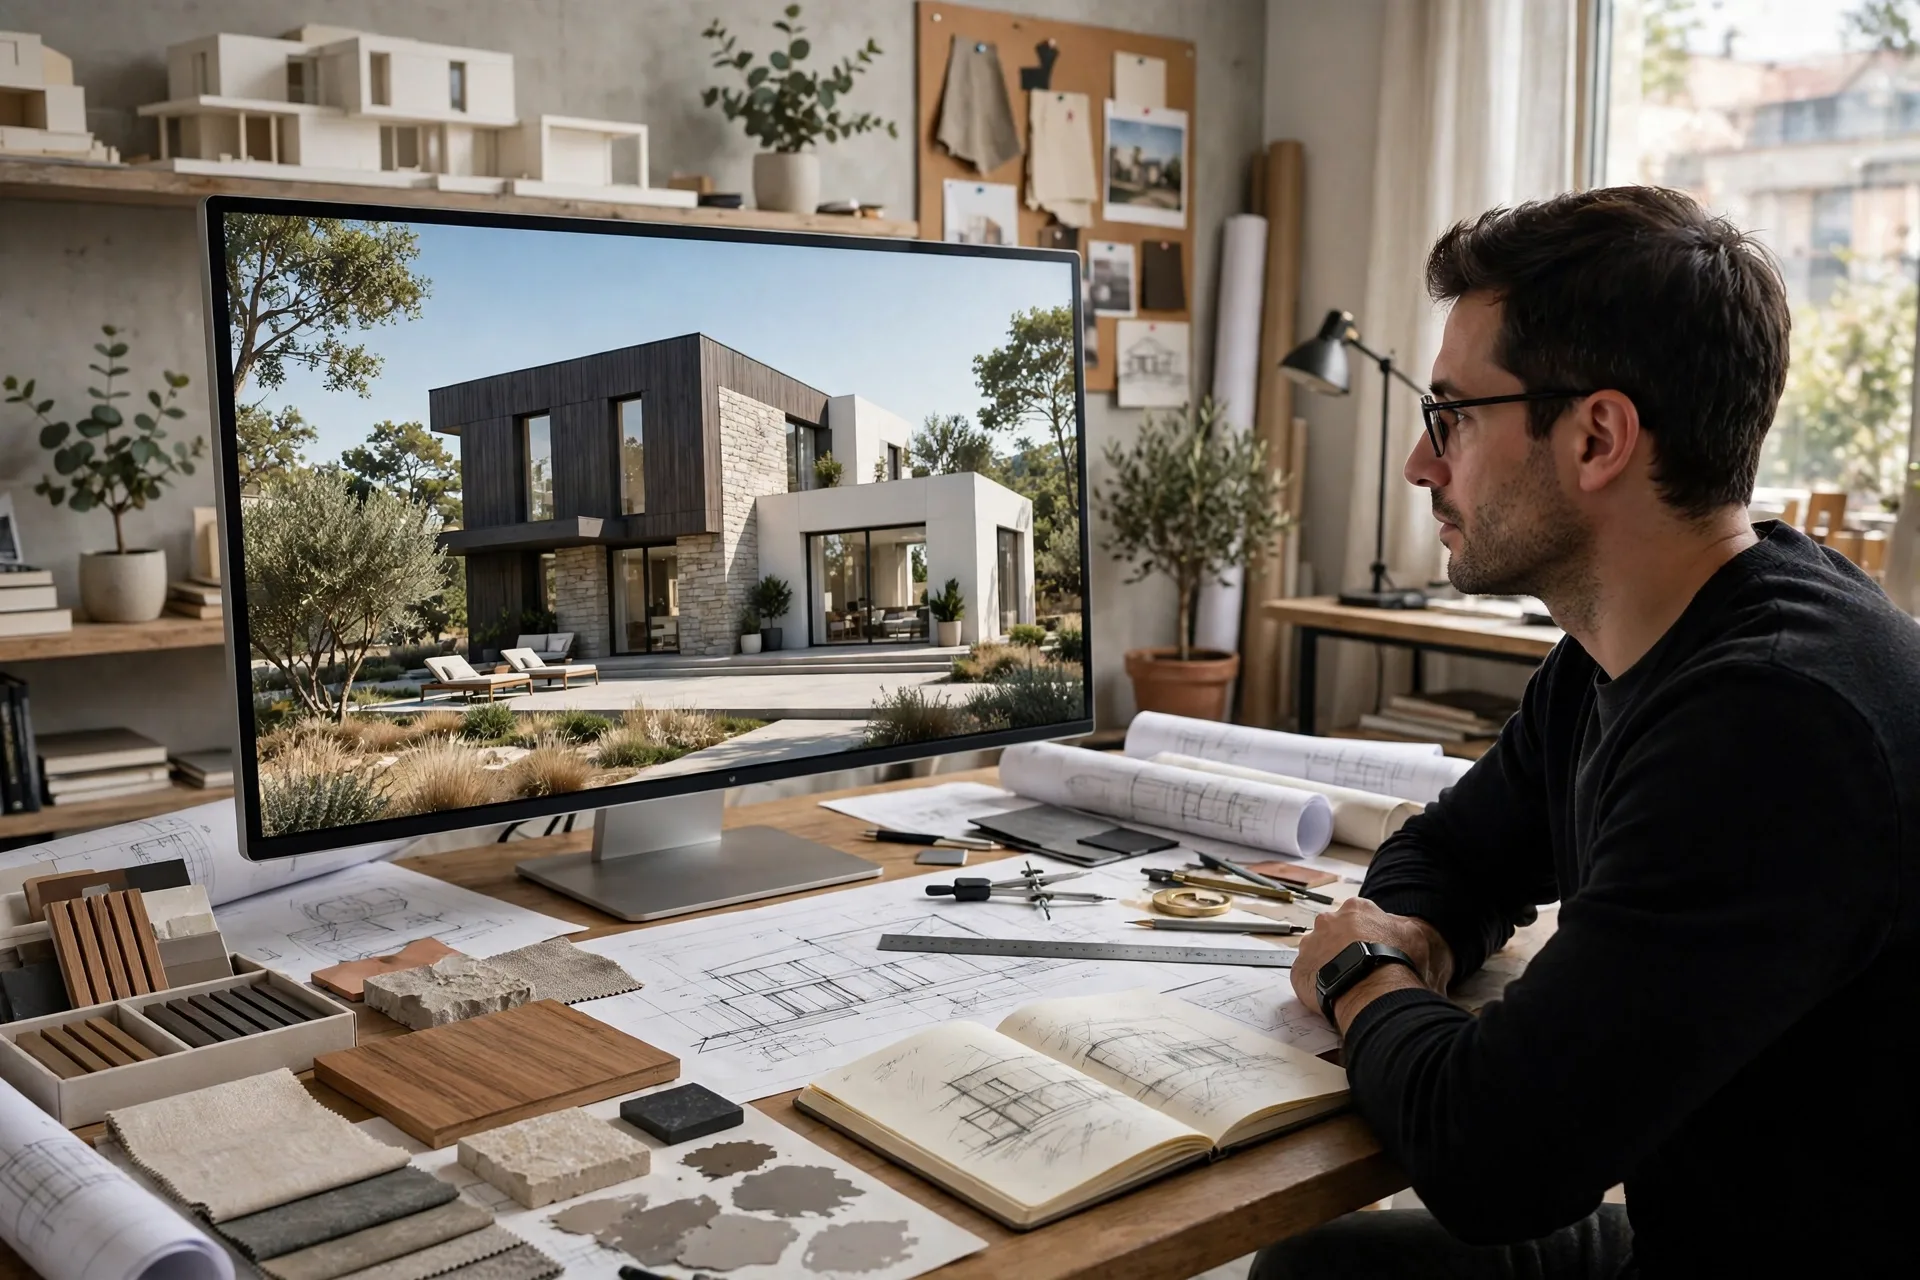
How to Brief a Rendering Studio: Complete Checklist
A rendering studio can only produce what it has been briefed to produce. When a client sends a single floor plan and a one line message saying make it look good, the studio must guess at materials, lighting, camera angles, styling, and mood. Some of those guesses will be wrong, and each wrong guess costs a revision round, a week of delay, and goodwill on both sides. A good brief removes the guessing. It gives the studio everything needed to produce the right image first time, and it gives the client a clear basis for judging the result. This guide is a complete checklist for briefing a rendering studio, whether you are an architect, a developer, or a homeowner commissioning a single view.
Start With the Purpose of Each Image
Every render should have a job. A brochure hero needs drama and a clear selling point. A planning submission needs accuracy, context, and honest massing. A website gallery needs variety, with exteriors, interiors, and details that answer buyer questions. An interior design presentation needs material accuracy and true light. Before writing anything else, list each view you need and write one sentence for each: what it must show, who will see it, and where it will be used. That sentence decides the camera angle, the time of day, and the styling, so it saves more revision time than any other part of the brief.
Purpose also decides how many views you need. A client who lists purpose first usually commissions fewer, better views, because duplicate angles with no distinct job are cut early. If you are unsure, ask the studio to recommend a view list from your purpose list.
Send Complete Drawings and Model Files
The foundation of any brief is the design information. Supply the most complete files you have, in the formats the studio requests, and note the scale and units. For most projects this means CAD plans, sections, and elevations, plus a 3D model if one exists in SketchUp, Revit, Rhino, or 3ds Max. If the model is incomplete, say so explicitly and mark which parts are fixed and which are still in design. A studio that knows a facade is unresolved can model it flexibly; a studio that assumes it is fixed will have to rebuild it when the design changes.
Include dimensions for anything the camera will see closely: ceiling heights, window sizes, stair details, and kitchen layouts. Small errors here become visible errors in the render, especially in interiors. Also include site information for exteriors: neighbouring buildings, trees to keep or remove, ground levels, and access routes.
Specify Materials, Colours, and Finishes Exactly
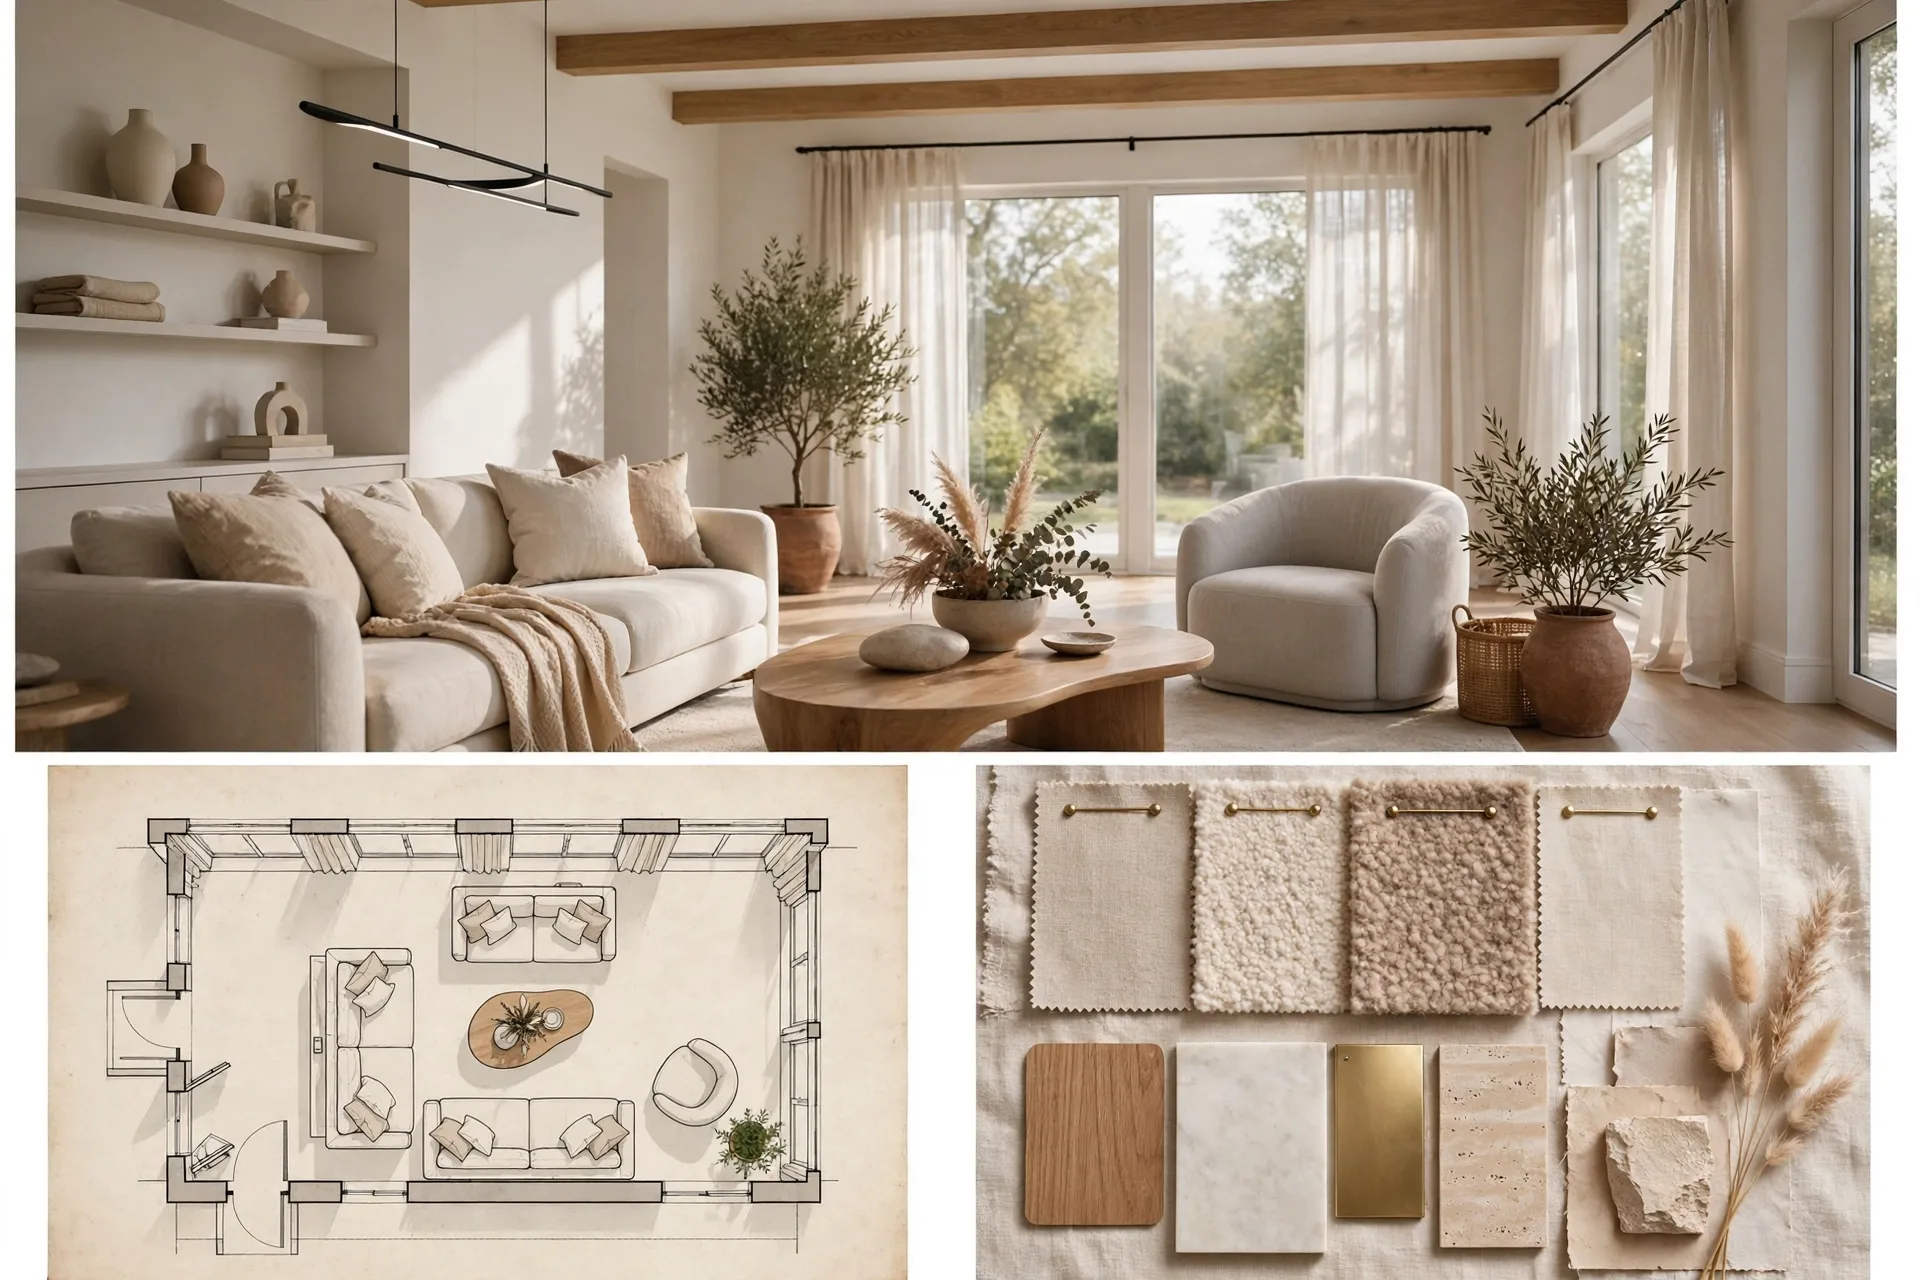
Materials are where vague briefs fail most visibly. A note saying light wood floor can mean ten different products, and the studio's guess may not match your specification. For each major surface, give the product name or a reference image, plus the colour code where one exists. Brick, stone, timber, metal, glass, worktops, and fabrics all deserve a line in the brief. Where a product is not yet chosen, give a direction, such as warm mid-tone oak, matte finish, rather than leaving it blank, and confirm that the studio's interpretation will be checked at first draft.
Photographs and samples help more than words. A phone photo of a material sample or a mood board image gives the studio a visual target that text cannot match. If you have a previous render whose material quality you like, include it as a reference and say what you like about it.
Choose Cameras, Light, and Time of Day
Camera and lighting choices shape the mood of the image more than any other decision after materials. For each view, state the camera position and height, or describe the feeling you want: eye level from the entrance, low angle to emphasise height, or a wide view showing the full living space. If you are unsure, describe the hero feature the image must feature, such as the fireplace, the view window, or the kitchen island, and let the studio propose the angle. Our camera angles guide is a practical reference for this conversation.
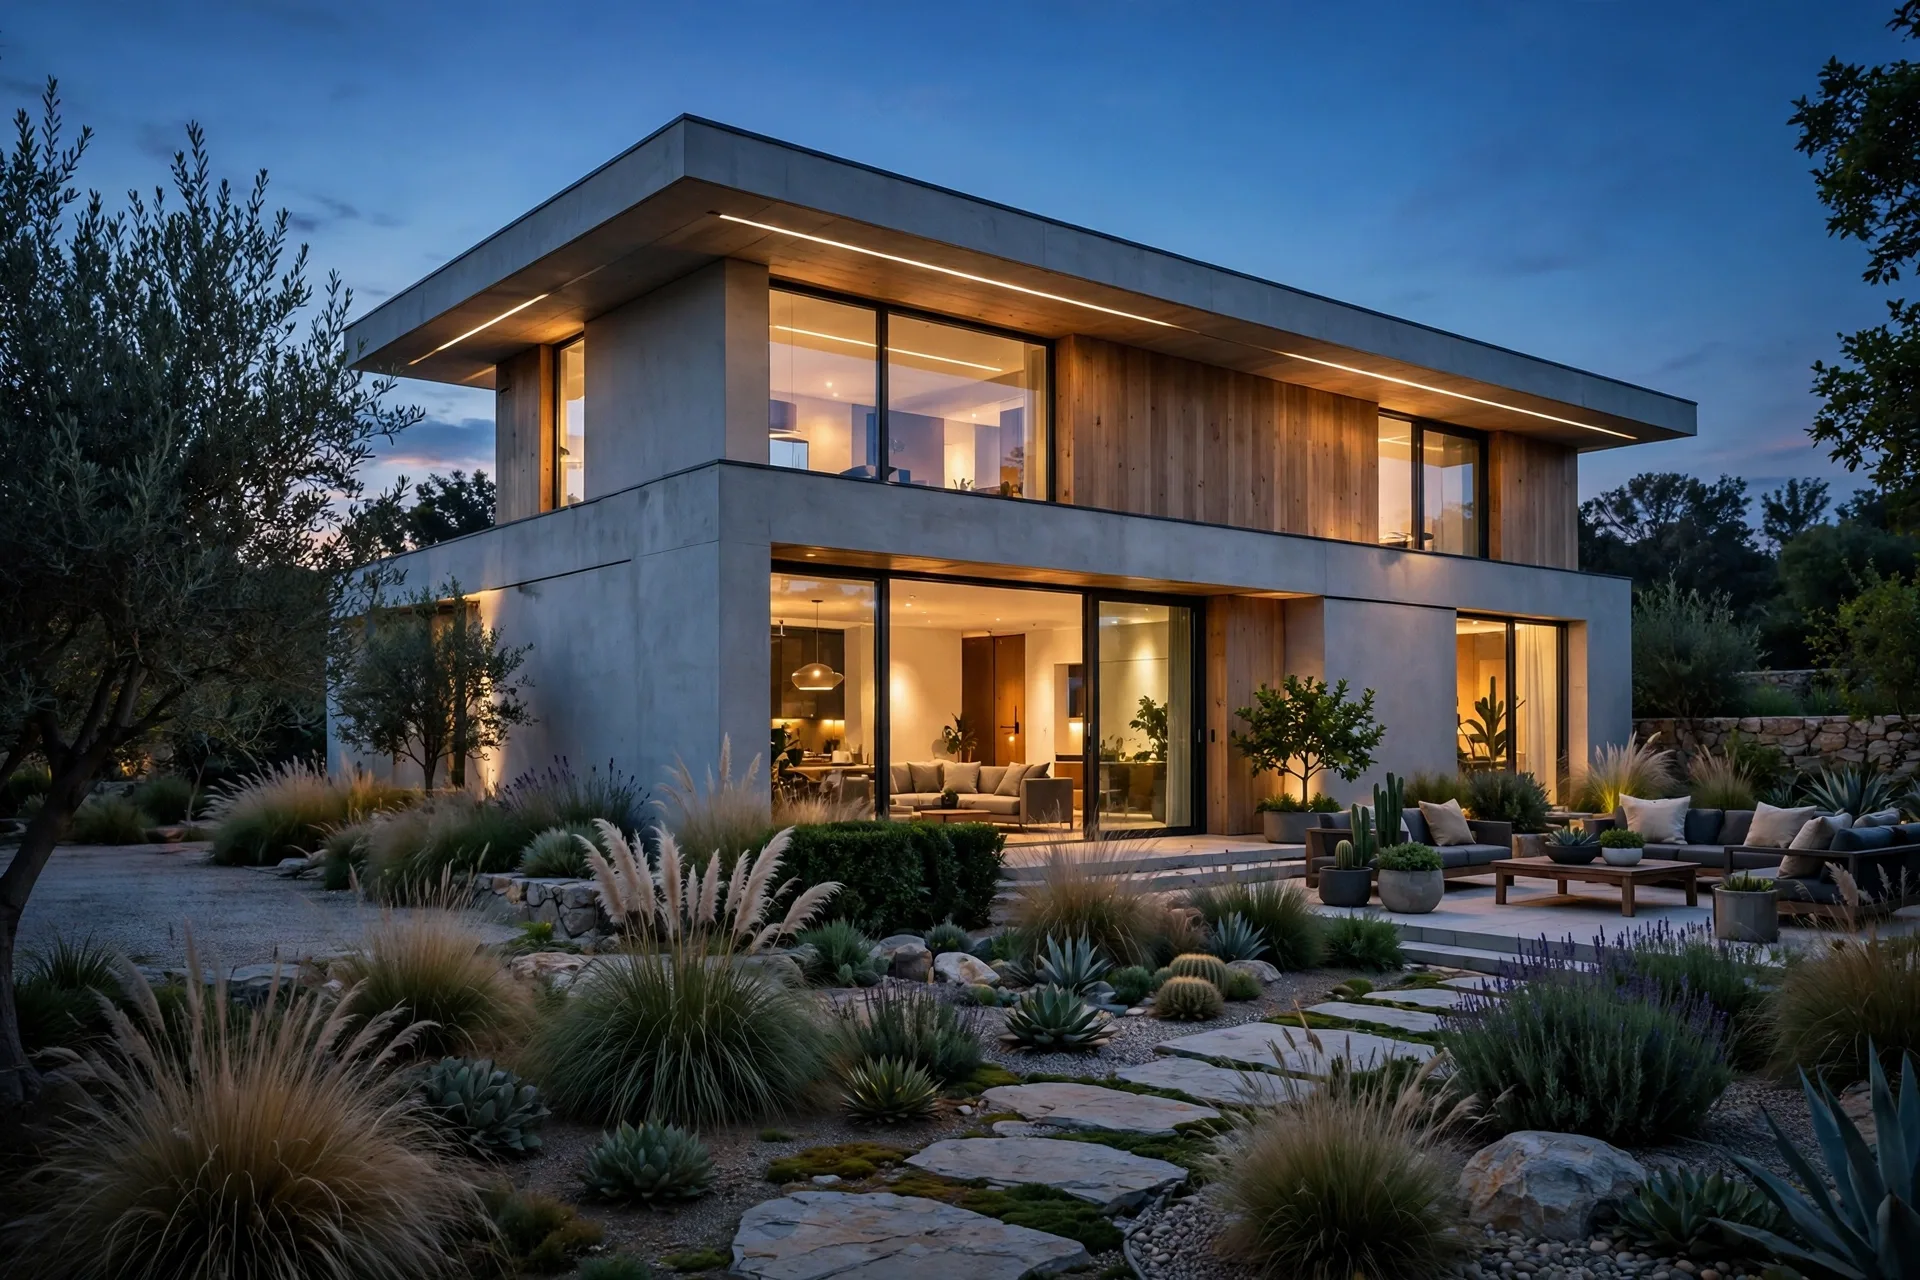
Time of day deserves the same clarity. Daylight suits planning submissions, because it shows the building honestly. Golden hour and dusk suit marketing, because warm light and glowing interiors feel inviting. A dusk shot needs a different lighting setup, so request it explicitly. For dusk, our twilight renders guide explains how golden hour and blue hour lighting differ. State the season too, because summer foliage and winter light produce very different images.
Describe Styling, People, and Lifestyle
Styling tells the viewer who the space is for. A family home needs different furniture, art, and accessories from a city investment apartment or a boutique hotel suite. Describe the target occupant in two or three lines: age group, lifestyle, and budget level. Then note anything to include or avoid, such as children, pets, workspaces, or formal dining.
People, known as entourage, deserve a line of their own. State how many figures you want, what they should be doing, and whether anyone should look at the camera. Our entourage guide covers scale, placement, and lighting. As a rule, fewer figures with natural activity beat a crowded scene. If you want no people at all, say so, because many studios include basic entourage by default.
Agree on Deliverables, Revisions, and Timeline
End the brief with the commercial terms that prevent disputes. List the exact deliverables: number of views, stills or animation, resolutions, and file formats. Confirm the resolution you need for each use, because a web image and a printed brochure need different pixel sizes, as our render resolution guide explains. State the deadline and any hard dates, such as a brochure print date or a launch event, so the studio can schedule honestly and flag risks early.
Revisions should be agreed before production starts. Most studios include two to three revision rounds per view, and they distinguish between small tweaks, such as colour or camera adjustments, and rework, such as design changes that require re-modelling. Put that distinction in the brief, and note who on your side will approve drafts, because multiple approvers with conflicting comments are a common cause of extra rounds.
A Brief Template You Can Copy
A complete brief does not need to be long. One page per project, plus drawings and references, is usually enough. Use the following checklist as your template, and delete any line that does not apply.
- Project and purpose: project name, location, and one sentence per view stating its job and audience.
- Drawings and model: CAD files, model file and format, scale, and notes on what is fixed versus still in design.
- Materials and finishes: product names, colour codes, or reference images for every major surface.
- Cameras and light: camera position or hero feature per view, time of day, and season.
- Styling and people: target occupant, furniture style, number and activity of figures, and anything to avoid.
- Deliverables and dates: view count, resolutions, file formats, deadline, and approver name.
- Revisions and budget: included revision rounds, fixed quote confirmation, and usage rights for the finished images.
Send the brief in one package, not in drips. A studio that receives drawings on Monday, materials on Wednesday, and styling notes on Friday cannot start properly until Friday. If some information is unavailable, say when it will arrive and ask the studio to start on the fixed parts.
Frequently Asked Questions
What if I only have a floor plan, not a 3D model?
That is enough to start. A studio can build the 3D model from plans, sections, and elevations, though modelling time will be included in the quote. The more complete your drawings, the faster and more accurate the model, so send sections and elevations alongside the plan whenever you have them.
How long should a brief take to write?
For a single view, 30 minutes is usually enough if your drawings and material choices are ready. For a full launch package, allow one to two hours. That time is repaid in fewer revisions: a clear brief commonly saves one full revision round, which is worth several days on a typical project.
Should I send reference renders I like?
Yes. Reference images are the fastest way to communicate mood, lighting, and quality. Send two or three, and say what you like about each one, whether it is the light, the camera angle, the styling, or the overall realism. Avoid sending ten references with conflicting styles, which leaves the studio guessing again.
Who should approve draft renders on our side?
One named approver, or one person who consolidates comments from others into a single list. Multiple approvers sending separate, conflicting comments is the most common cause of extra revision rounds. Agree the approver before production starts and keep that person available during review windows.
What happens if the design changes mid-project?
Small changes, such as a material swap, are usually handled within the included revisions. Large changes, such as moving walls or redesigning a facade, require re-modelling and may be quoted separately. Tell the studio as soon as a change is likely, not after it is decided, so they can advise on cost and timing before work is redone.
Do I need to specify image resolution in the brief?
Yes, if you know the end use. Web use needs far fewer pixels than large format print, and the resolution affects render time and cost. If you are unsure, list the end uses and ask the studio to recommend resolutions, then confirm them in writing before production starts.
A good brief is a short document with a large return: fewer revisions, faster delivery, and renders that match your vision on the first draft. Start with purpose, send complete drawings and exact materials, choose cameras and light deliberately, describe styling and people honestly, and agree deliverables, revisions, and dates before work begins. If you are ready to commission, our rendering services guide explains what to send us, or contact our studio with your brief and we will confirm a fixed quote and timeline.
Written by
Architecture Designing Team
3D Visualization Studio