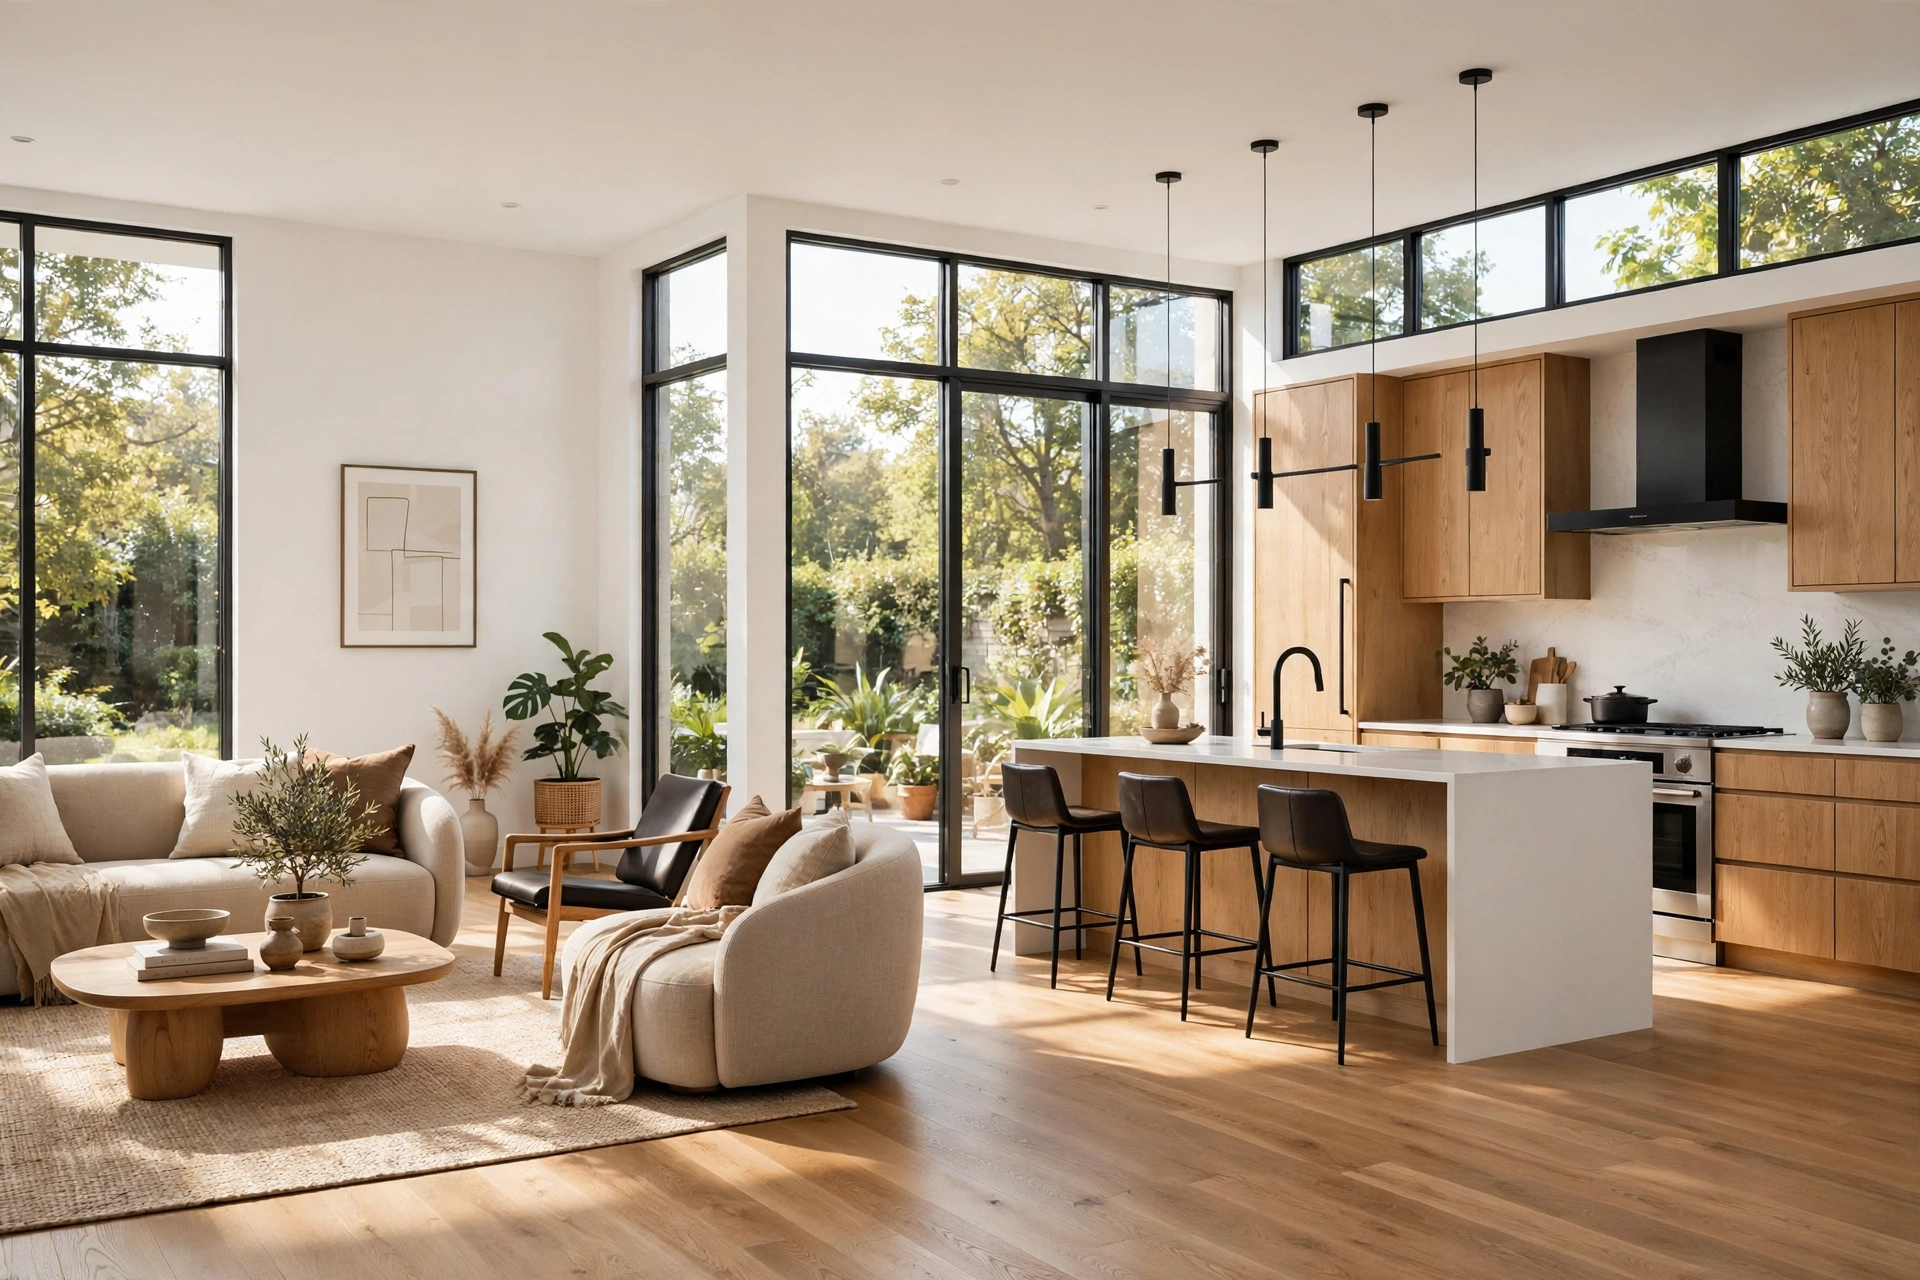
Renovation Rendering: Before and After Guide 2026
Renovating a home is one of the biggest spending decisions most people ever make, and it is also one of the hardest to picture in advance. Floor plans show walls and dimensions, material samples show colour and texture, but neither one shows what the finished room will actually feel like. That gap between the plan and the finished space is where most renovation anxiety lives, and it is exactly the gap a good render closes.
A renovation render is a photorealistic image of the finished project, built from your existing drawings, photos, and material choices before any demolition starts. It shows the new kitchen in the old shell, the opened-up living room with real light falling across it, and the facade with its new windows and cladding. This guide explains how renovation rendering works, what the before and after views should show, what it costs in 2026, and how to brief a studio so the images you get are the ones that win approvals, quotes, and confidence.
Why Renovations Need Renders Before Demolition
Most renovation problems are not construction problems, they are decision problems that arrive too late. A homeowner approves a kitchen layout from a flat plan, then sees the island in place and realises it blocks the path to the garden door. A contractor prices a facade from an elevation drawing, then the client sees the cladding on site and hates the colour. Each of these moments costs money, time, and goodwill, and each one is avoidable when the finished result is visible before work starts.
Renders change the conversation from guesswork to a shared picture. The client, the architect, and the builder all look at the same image and agree on what will be built. That shared picture also helps with the practical side of a renovation: planning committees and neighbours understand a proposal faster from a realistic image than from drawings, and banks and buyers respond to finished-looking visuals when a remodel is part of a sale or a refinance. For a homeowner, the value is simpler: you get to live in the new room in your mind before you commit the budget.
Before and After Views That Sell the Design
The most persuasive renovation image is the before and after pair: the same camera angle, the same room, one image showing the space as it is today and one showing it after the work. The pair works because it makes the change measurable. A client can see exactly what the money buys: the wall that disappears, the ceiling that rises, the light that enters through the new window.
Ask for matching angles. A studio should photograph or model the existing room first, lock the camera position, and then build the after view from exactly that viewpoint. The same rule applies to exteriors: the same street angle, the same lens, the same time of day. When the angles match, the comparison is honest, and honest comparisons build trust.
The views worth ordering depend on the project. For a full home renovation, order a hero exterior, the main living space, and the kitchen. For a single-room remodel, order two angles of that room: one wide shot that shows the layout and one closer shot that shows the materials. Our guide to interior rendering costs explains what each view typically costs, so you can plan the set before you ask for a quote.
What Renovation Rendering Costs in 2026
A single photorealistic still of a renovated room usually costs $150 to $450 in 2026, depending on how much of the space is new. A simple room refresh, new paint, new furniture, and new lighting in an existing shell, sits at the lower end. A full remodel with structural changes, new joinery, and a rebuilt kitchen or bathroom sits at the higher end, because the artist must model the new space almost from scratch.
A typical renovation package of four to six views costs $700 to $2,000. A before and after pair counts as two views, so budget for that when you plan the set. Exterior renovation views cost $250 to $600 each, since facades, landscaping, and context take longer to build. A short animation that walks through the renovated home usually costs $1,500 to $5,000. Our full breakdown of 3D rendering cost per image gives the 2026 price tables by render type, and our kitchen rendering guide covers the room where most renovation budgets go.
Two things push the price up: modelling from poor drawings, and late changes. If you can send measured plans, a 3D model, or even accurate phone photos with dimensions, the studio spends less time guessing and more time on quality. Most studios include two to three revision rounds per view, which is enough if the brief was clear, so spend the time on the brief and save it on the revisions.
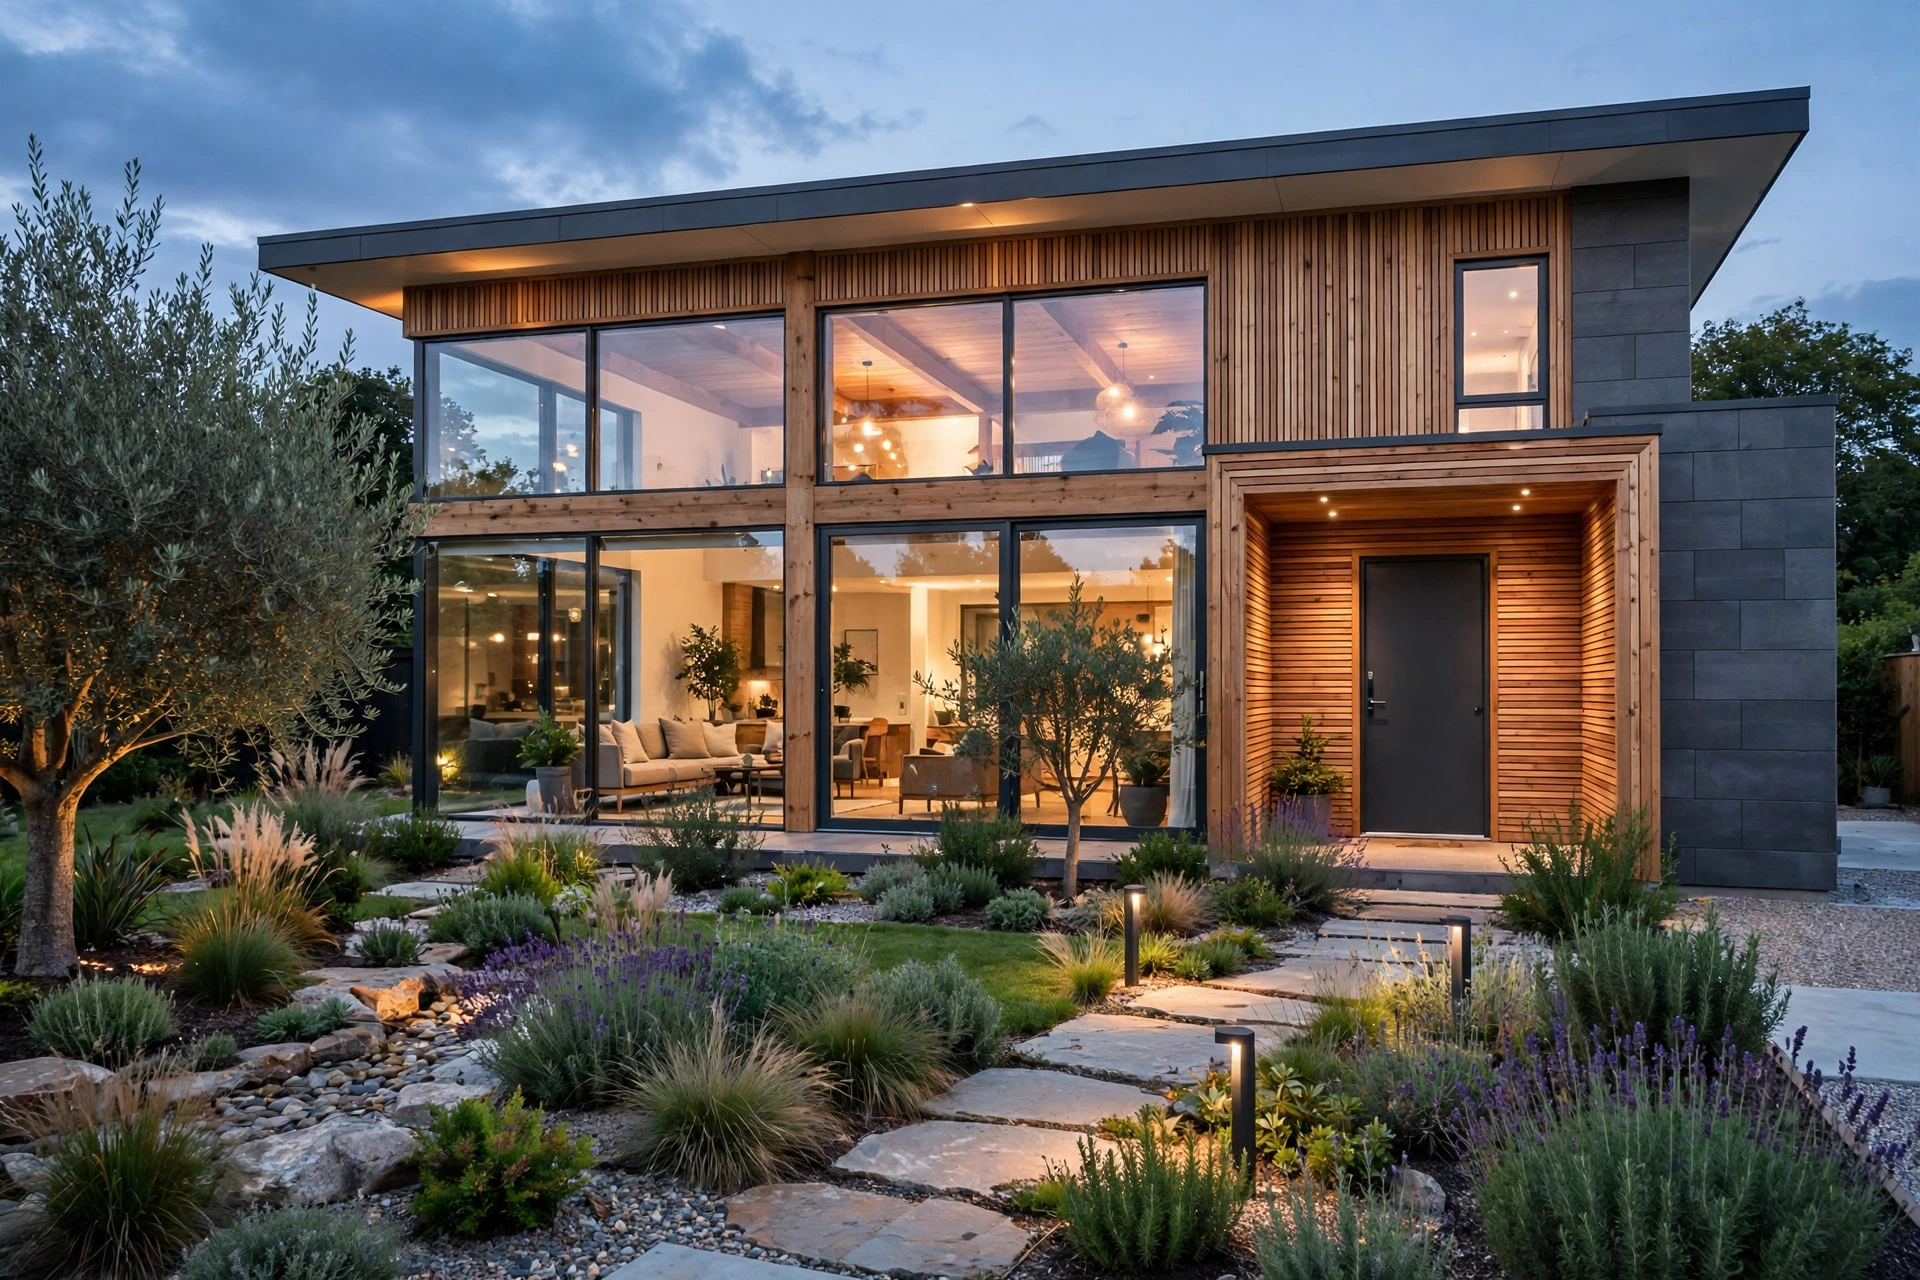
How to Brief a Studio for a Renovation Project
A renovation brief starts with the before. Send current photos of every room from several angles, plus floor plans with dimensions and, if you have them, the architect's drawings of the proposed work. Photos matter more than most clients expect: they show the light, the ceiling height, and the details a plan never captures.
Then describe the after. List the materials with references, not just names: a photo of the exact tile, the paint code, the worktop sample, the tap model. Note what stays and what goes, because a render that keeps an old radiator the client planned to remove is a render that needs redoing. State the purpose of the images too. Renders for a planning application need accuracy above all. Renders to convince a partner or a client need warmth and lifestyle. Renders for a contractor quote need the details a builder prices from.
Our complete briefing checklist covers every item a studio needs, from drawings and references to camera angles and deliverables. Send it once, properly, and you save a revision round.
Kitchen and Bathroom Renovations: The Views That Matter
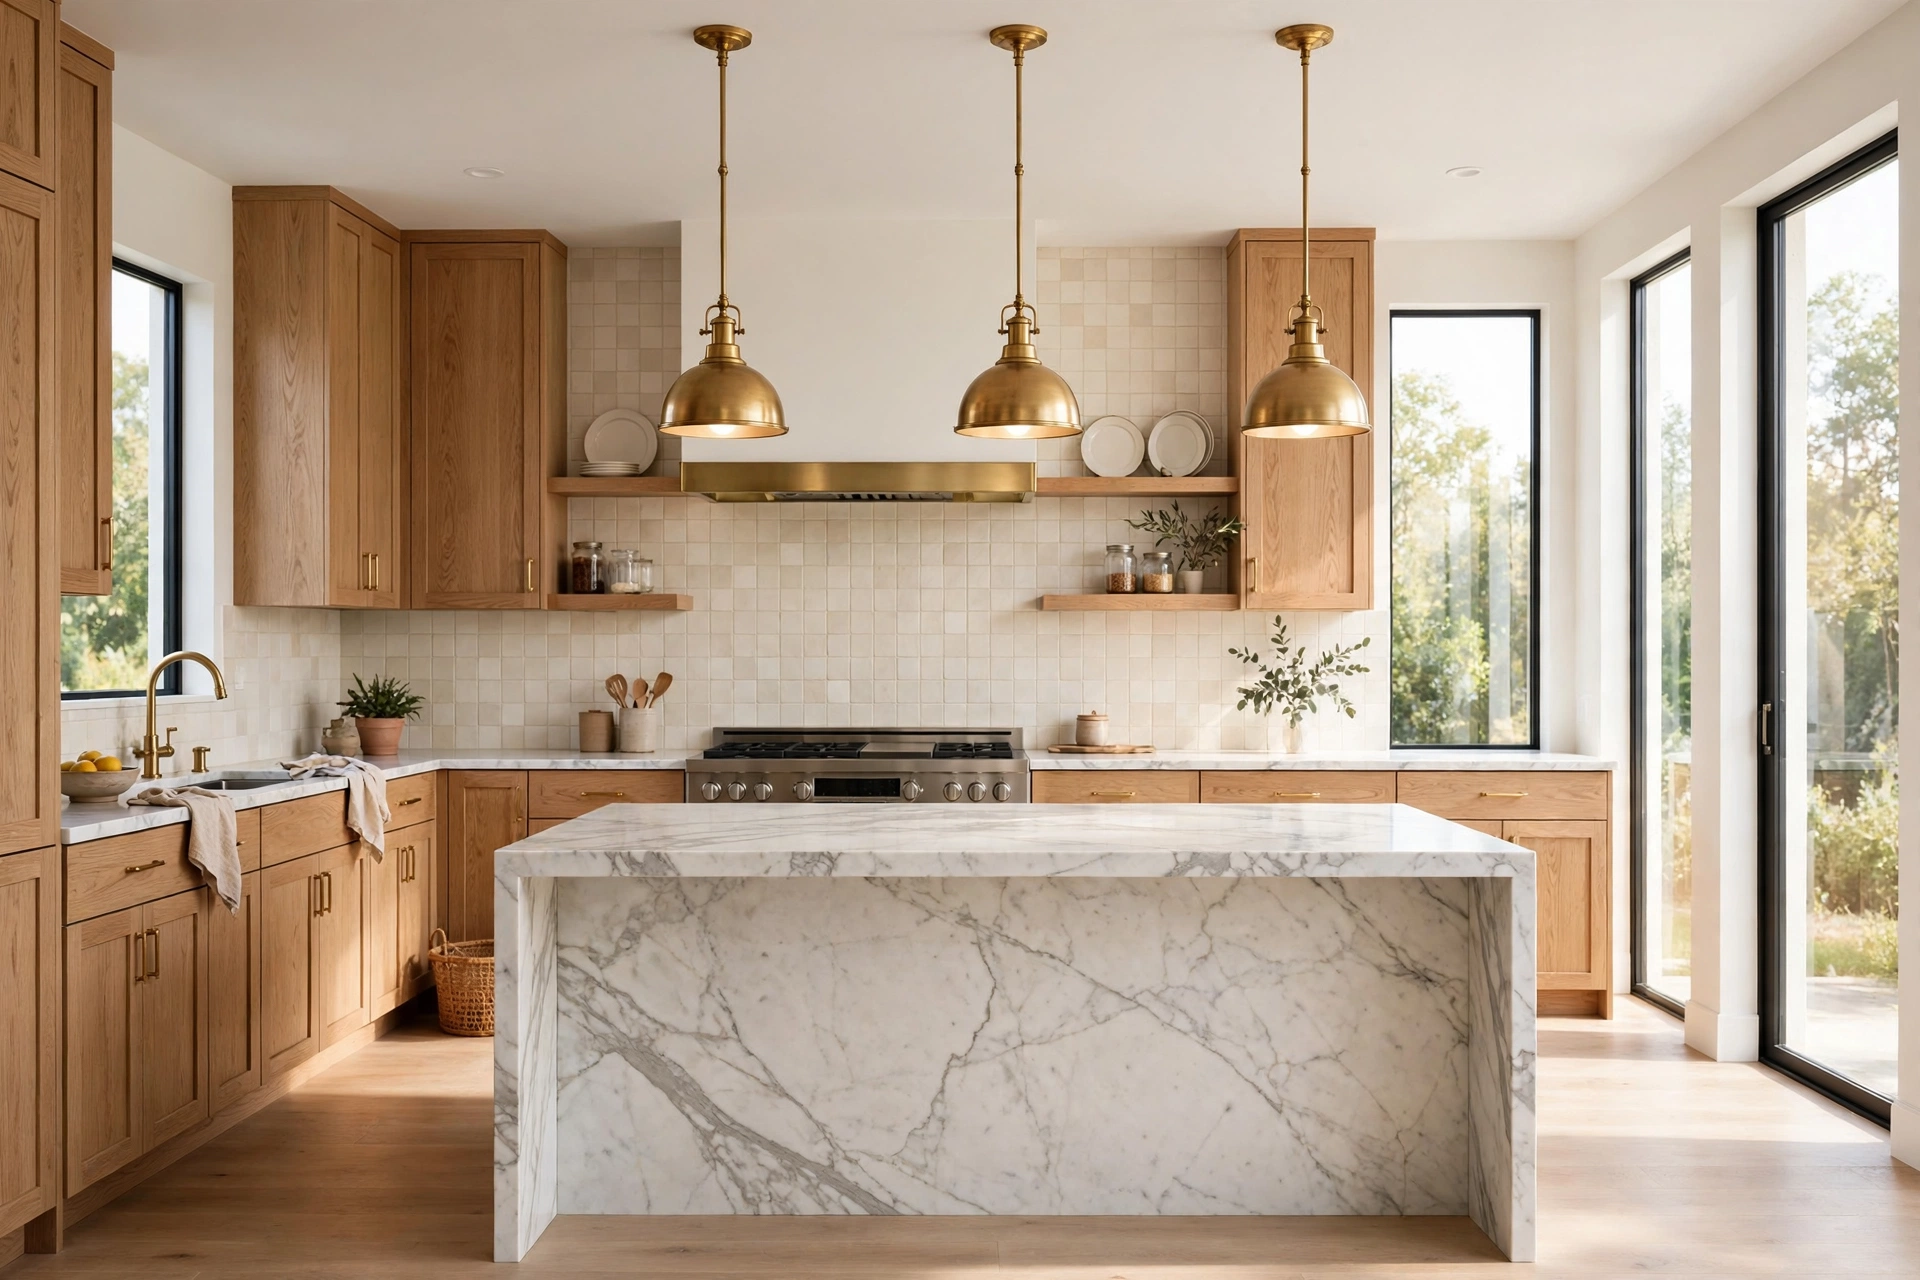
Kitchens and bathrooms are where renovation renders earn their fee, because they are the rooms where small choices have big costs. A kitchen render should show the work triangle, the island, the storage, and the light at the times of day the room is used. One wide view shows the layout, and one closer view shows the worktop, the splashback, and the handles, the details the client touches every day.
Bathrooms are harder: small, reflective, and full of fixtures that are easy to get wrong. A good bathroom render shows the shower, the vanity, and the mirror from an angle a real person would stand at, with the tiles and the lighting exactly as specified. Our bathroom rendering guide explains the views and the pitfalls in detail, and it is worth reading before you brief the most expensive small room in the house.
Common Mistakes in Renovation Renders
The most common mistake is rendering a room that could not exist: a sofa that would block a door, a kitchen island with no room to open the oven, a window that does not match the plan. A render must respect the real dimensions, or it becomes a pretty picture that a builder cannot build. Check the plan against the render before you approve it.
The second mistake is styling the after image like a show home and forgetting the client. A family kitchen needs a lived-in feel, not a magazine set with no sign of life. The third is ordering too few views: one hero image looks great in a presentation, but the client will ask about the corner you did not show. And the last is skipping the before image entirely. Without the before, there is no story, and without the story, the renovation is just another pretty room.
Frequently Asked Questions
How much does renovation rendering cost in 2026?
A single room view costs $150 to $450, and a package of four to six views usually costs $700 to $2,000. Exterior views cost $250 to $600 each, and a short walkthrough animation costs $1,500 to $5,000.
What do I need to send a studio to get a renovation render?
Current photos of the space, floor plans with dimensions, the proposed drawings, and material references with exact products or samples. Photos matter most, because they show light, ceiling height, and existing details.
Can a render show before and after from the same angle?
Yes. The studio locks the camera on the existing room and builds the after view from the same viewpoint, so the change is shown honestly and the client can compare the two images directly.
How long does a renovation render take?
A single view takes three to five working days. A set of four to six views takes one to two weeks, depending on how much modelling the new space needs. Rush delivery usually adds 25 to 50 percent to the price.
Are renovation renders accurate enough for a planning application?
Yes, when they are built from measured drawings and the camera, scale, and materials match the proposal. Tell the studio the images are for planning so accuracy is prioritised over styling.
Who owns the renovation render images?
Usually you receive a licence to use them for marketing, planning, or personal use, while the studio keeps copyright. Confirm the licence covers your intended use before you pay.
A renovation is a bet on a finished room you cannot yet see. A render lets you see it first, change it cheaply, and commit with confidence.
If you are planning a remodel and want to see the finished result before the first wall comes down, talk to our studio. Send us photos of the space, your drawings, and your material ideas, and we will show you the after before you spend a cent on the build.
Written by
Architecture Designing Team
3D Visualization Studio