Render Post-Production in Photoshop: Full Workflow
Every photorealistic render you admire has been through post-production. The raw image that comes out of a render engine is flat, slightly washed out, and unfinished by design, much like a RAW photograph. Post-production in Photoshop is where that raw render becomes a marketing image: contrast is shaped, color is balanced, the sky is refined, small flaws are cleaned up, and the whole image gains the depth and mood that makes a buyer stop scrolling. This guide walks through the professional Photoshop workflow studios use in 2026, step by step, so you can judge good post-production, brief it properly, or apply it to your own renders.
What Post-Production Is, and What It Is Not
Post-production is finishing, not faking. A good post-production pass never changes the architecture: walls stay where the model put them, proportions stay honest, and materials stay true to the specification. What changes is how the image reads. Exposure is balanced so bright windows and dark corners both hold detail. Colors are corrected so wood looks like wood and white walls look white instead of blue or yellow. Atmosphere is added subtly, a touch of haze in the distance, a warm glow from a lamp, so the image feels like a photograph taken at a real time of day.
The Professional Workflow, Step by Step
Step 1: Start from the best raw render
Post-production cannot rescue a bad render. Before Photoshop opens, the raw render should be exported at full resolution, ideally as a 16-bit TIFF or EXR file rather than a compressed JPEG, so highlight and shadow detail survives editing. Studios also render extra passes when the project needs them: a material ID pass for easy selection, a depth pass for atmospheric perspective, and sometimes a separate lighting pass. These passes take little extra render time and save hours in Photoshop. Our realism guide explains why the raw render quality sets the ceiling for everything after it.
Step 2: Fix exposure and lens issues first
The first Photoshop pass is technical. Levels or Curves balance the overall exposure so the brightest window and the darkest corner both keep detail. Lens distortion is corrected, vertical lines are straightened, and chromatic aberration at high contrast edges is removed. This step is deliberately boring and deliberately first: a render with leaning walls or blown-out windows cannot be saved by a pretty color grade later. Most studios use adjustment layers for every correction, never destructive edits on the base layer, so any step can be revisited during revisions.
Step 3: Balance color and white balance
Raw renders often carry a color cast from the lighting setup: too blue from daylight, too yellow from interior lamps. White balance correction neutralizes this so whites read as white and material colors stay honest. After that comes selective color work: warming wood tones slightly, cooling glass reflections, and keeping skin tones natural if people are in the scene. The goal is believable, not dramatic. A useful test is to view the image on two different screens, because a grade that looks rich on one monitor can look muddy on another.
Step 4: Refine the sky, landscape, and background
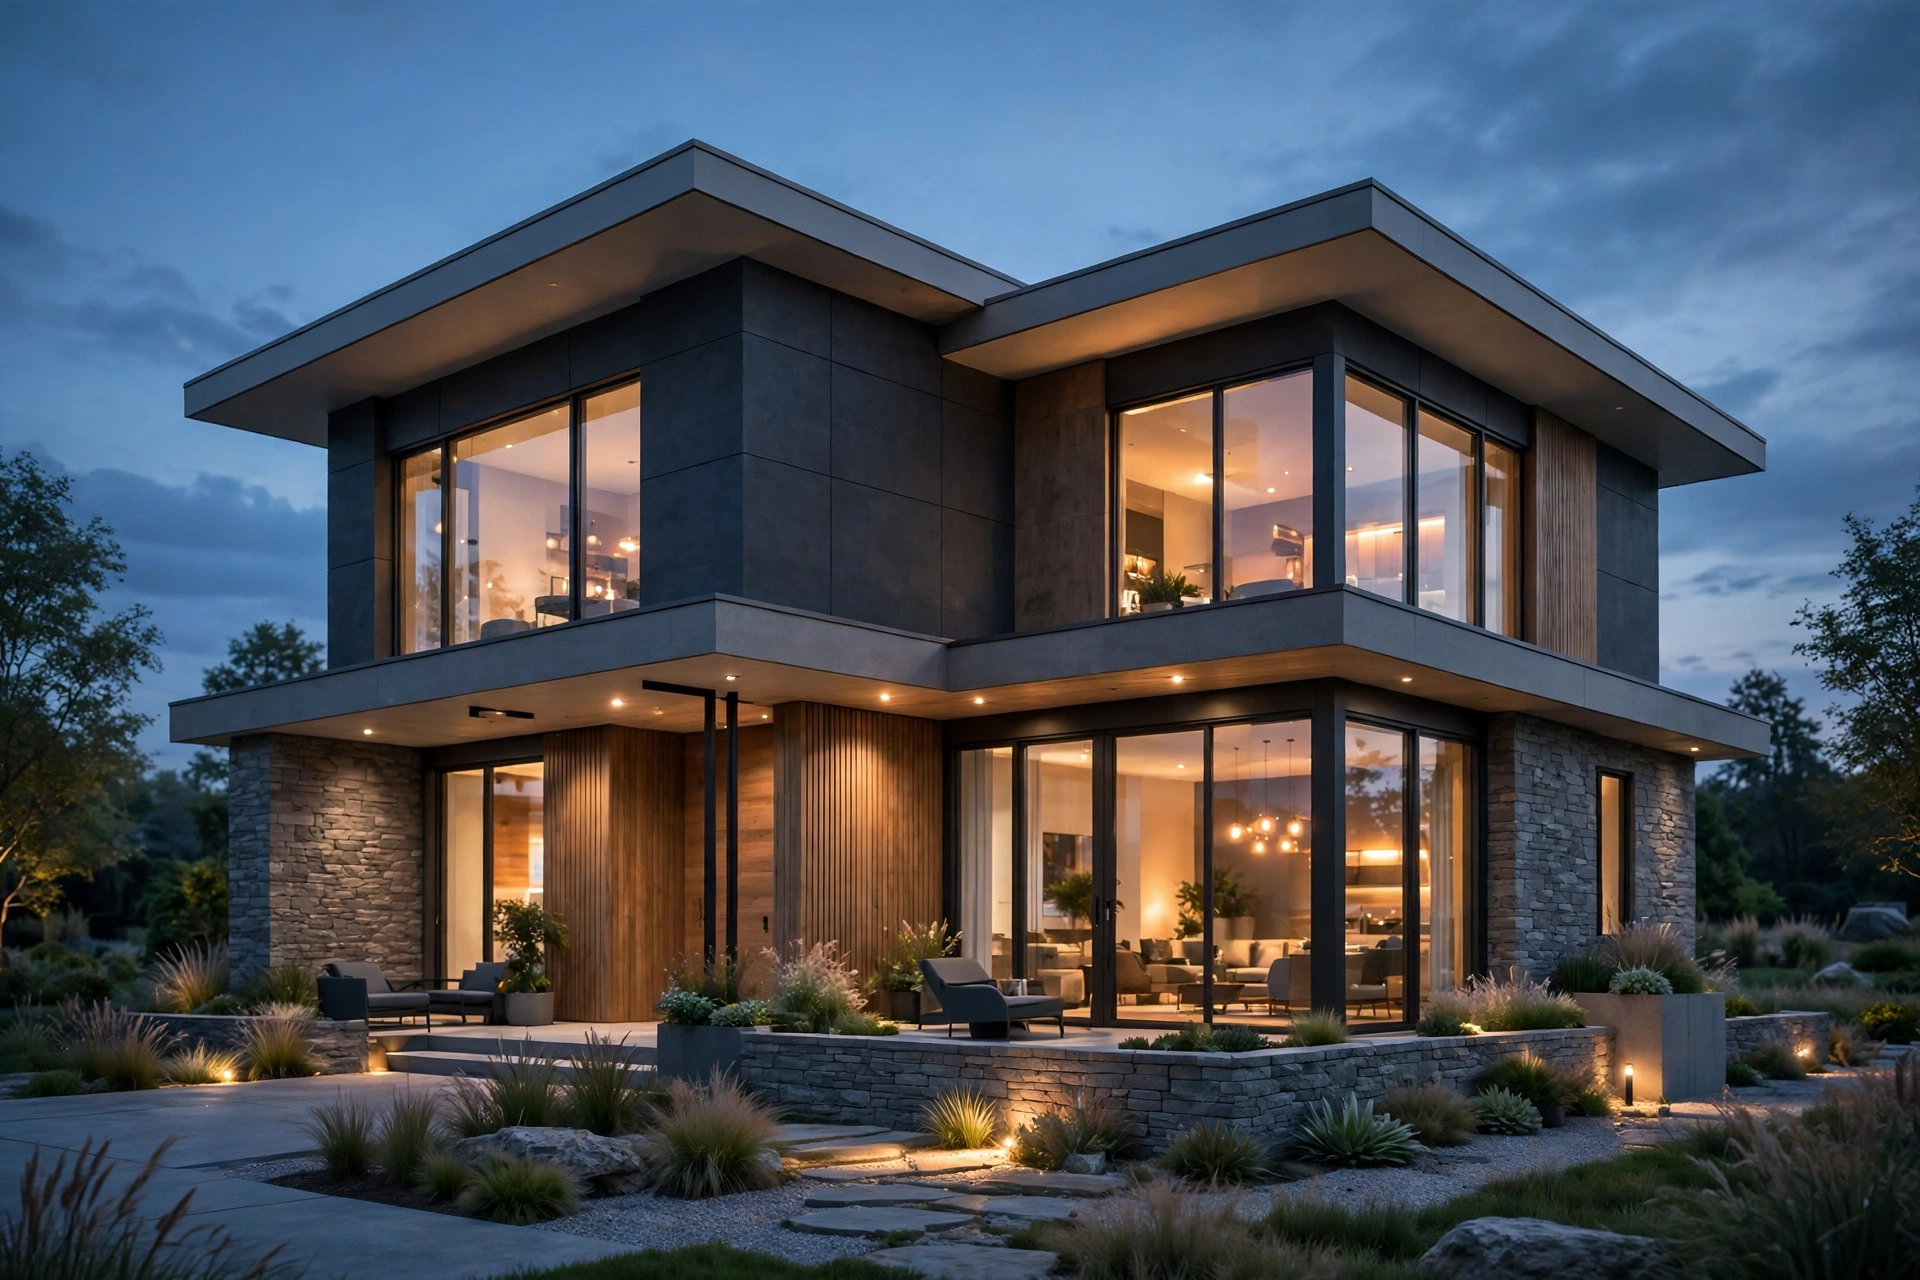
Skies are the most commonly replaced element in exterior post-production, and also the most commonly overdone. A good sky replacement matches the lighting direction, the time of day, and the color temperature of the render. A sunset sky on a render lit like midday looks instantly wrong. Studios either render with a photographic sky from the start or replace it carefully in Photoshop, blending the horizon and matching haze. Landscaping gets the same treatment: grass is enriched, trees gain depth, and distant buildings are softened with atmospheric haze so the hero building stays sharp. For dusk shots specifically, our twilight renders guide explains how sky and lighting must work together.
Step 5: Polish entourage, reflections, and details
Next comes the detail pass. People added as cutouts are color matched to the scene, given contact shadows, and softened if they sit in the background. Reflections in glass and polished floors are checked and subtly enhanced. Small flaws are cleaned up: a floating object, a texture seam, a stray artifact from the render engine. This is also where scale and realism issues surface, so studios cross-check against their rendering mistakes checklist before calling the image done. Nothing here should be visible as an edit: if a viewer can tell something was painted in, the pass has gone too far.
Step 6: Add depth, glow, and atmosphere
Depth is what separates a flat render from a photograph. Studios use the depth pass to add gentle atmospheric perspective: distant elements get slightly lighter and softer, foreground elements stay crisp. Light glow is added sparingly around lamps, windows at dusk, and sunlit edges. A subtle vignette, darkening the extreme corners by a few percent, draws the eye to the centre of the image. Each of these effects should be barely noticeable on its own. If any one of them is obvious, it is too strong, and the image starts to look like an illustration rather than a photograph.
Step 7: Sharpen, size, and export for each use
The final step is output. A render destined for a printed brochure needs different sharpening and resolution than the same image on a website or a social media post. Studios export a master TIFF for print, a high quality JPEG for web, and resized versions for each platform, sharpening each one at its final size rather than sharpening once and resizing afterwards. This matters because sharpening that looks perfect at 4000 pixels wide can look crunchy at 1200 pixels. Our render resolution guide covers the right pixel sizes for print, web, and billboard use.
How Long Post-Production Takes, and What It Costs
For a standard still render, professional post-production takes 30 minutes to 2 hours per view in 2026. Simple interiors with a good raw render sit at the fast end; complex exteriors with sky replacement, landscaping, and entourage sit at the slow end. Studios usually include basic post-production in their per-view price, and charge extra only for heavy work such as extensive entourage, complex sky replacement, or multiple revision rounds beyond the agreed allowance.
Common Post-Production Mistakes
The most common mistake is over-saturation: grass becomes neon green, skies become electric blue, and wood turns orange. The second is over-sharpening, which creates halos around edges and noise in flat areas like skies and walls. The third is inconsistent lighting, such as a bright blue sky over a warmly lit dusk scene. The fourth is heavy-handed vignetting or glow that makes the image look filtered. The fifth is sloppy cutouts, with white fringes around people or trees. All five share one cause: pushing an effect until it is visible. Professional finishing aims for the opposite, an image where no single adjustment can be spotted, only the overall feeling of a real photograph.
Frequently Asked Questions
Is post-production the same as photo editing?
The tools are the same, but the starting point differs. Photo editing starts from a photograph, while render post-production starts from a computer generated image that is technically unfinished. The goals are similar, balanced exposure, honest color, and natural depth, but render work also includes tasks photographs never need, such as sky replacement, entourage matching, and cleaning render artifacts.
Can Photoshop fix a bad render?
Only partly. Photoshop can fix exposure, color, and small flaws, but it cannot fix bad geometry, wrong proportions, poor materials, or lighting that contradicts the scene. Those problems must be fixed in the 3D scene and re-rendered. A studio that promises to fix everything in Photoshop is usually planning to hide problems rather than solve them.
Which Photoshop tools matter most for renders?
Curves and Levels for exposure, Hue and Saturation and Selective Color for color work, layer masks for targeted adjustments, and the Camera Raw filter for overall polish. For selections, the material ID render pass and Photoshop's Select Subject tool handle most cases. Advanced users add luminosity masks for precise control of highlights and shadows, but the core tools above cover the majority of professional work.
Should skies always be replaced in Photoshop?
No. If the render engine already produced a believable photographic sky that matches the lighting, replacing it adds risk without benefit. Sky replacement is worthwhile when the rendered sky is flat, the wrong time of day, or lacking the clouds and atmosphere the marketing needs. When a sky is replaced, it must match the light direction and color temperature of the scene, or the result looks composited.
How many revision rounds does post-production usually include?
Most studios include two to three revision rounds per view in their standard quote. Post-production revisions are usually quick, a warmer tone, a different sky, softer entourage, because adjustment layers make changes easy. Revisions that require re-rendering the 3D scene, such as moving a wall or changing a material, are a separate matter and may cost extra.
Is AI post-production replacing Photoshop work?
AI tools now handle parts of the workflow, such as sky replacement, upscaling, and initial color grading, and they are getting faster every year. In 2026, however, professional studios still finish images by hand, because AI results need checking for artifacts, inconsistent lighting, and altered details. The realistic near-term picture is AI assisted post-production, with a human artist making the final decisions, not fully automated finishing.
Post-production is where a good render becomes a great marketing asset, and it deserves the same care as modelling, lighting, and materials. The workflow is not mysterious: fix exposure, balance color, refine the background, polish the details, add depth with restraint, and export properly for each use. If you are commissioning renders, ask your studio what post-production is included in the quote and whether you can see a raw render beside the finished version. That one comparison tells you more about a studio's standards than any portfolio page. If you want that standard applied to your project, our rendering services guide explains how to brief us, or contact our studio for a fixed quote.
Written by
Architecture Designing Team
3D Visualization Studio