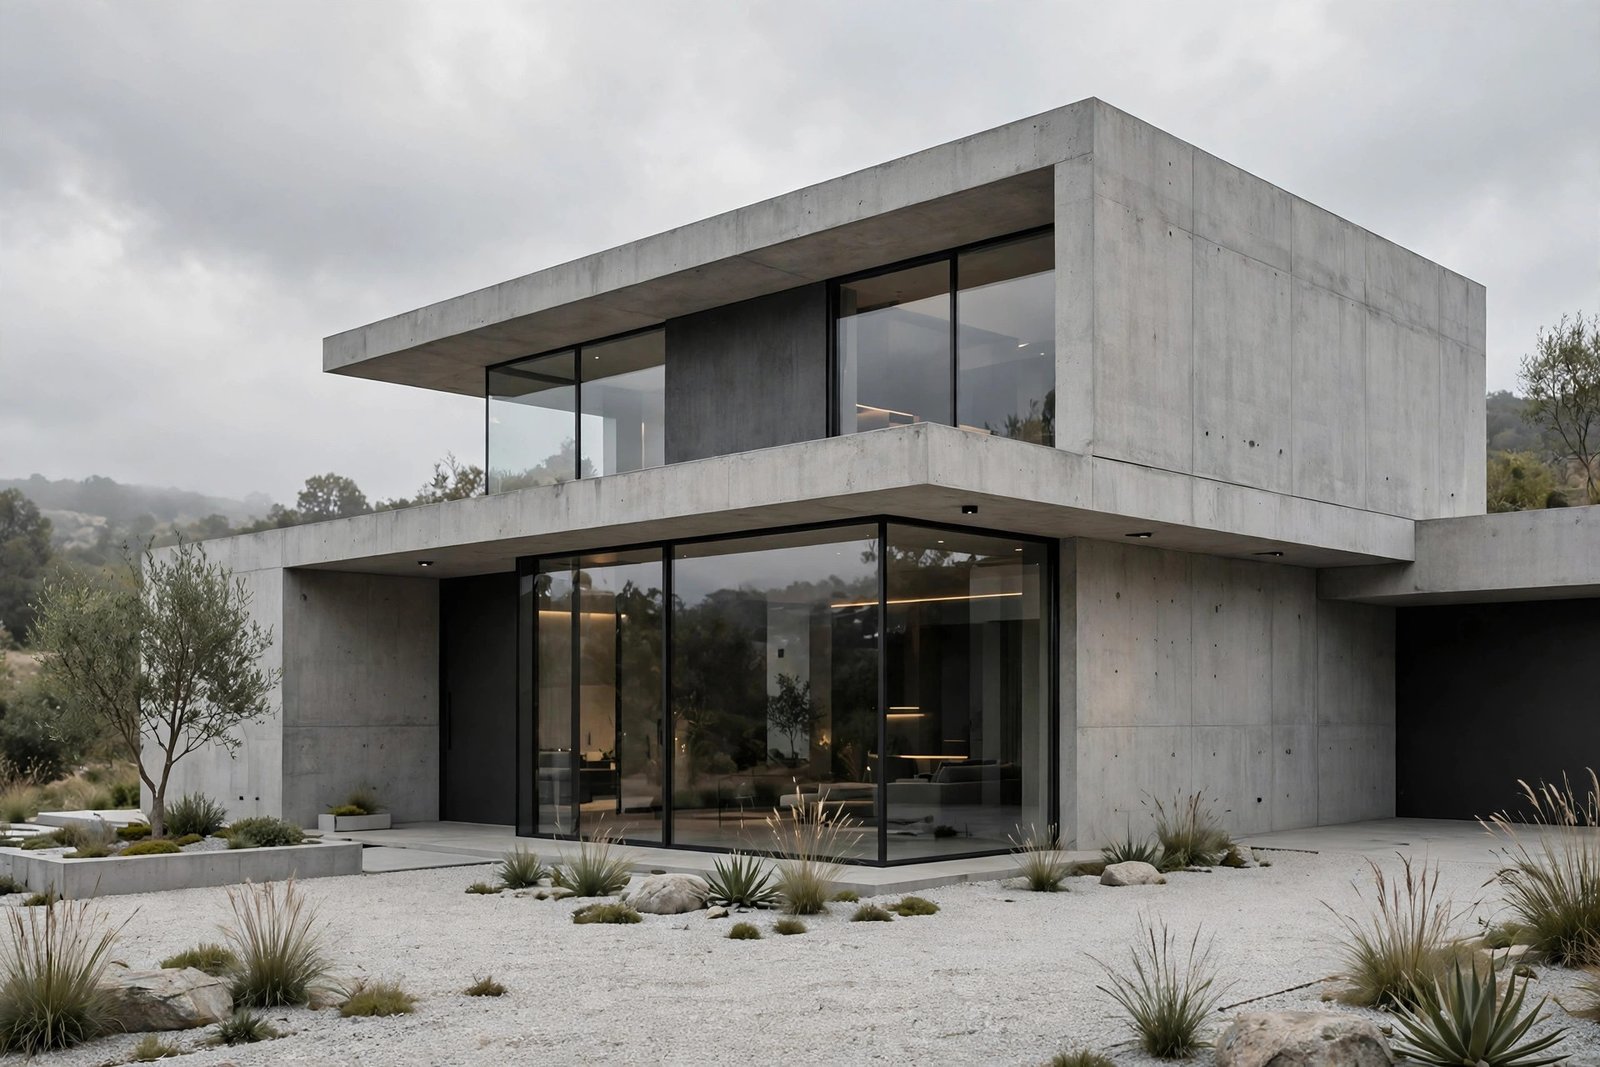
Exterior 3D Rendering Guide for Architects: From Massing to Marketing
The exterior render is often the first and most important image of a project. It introduces the building to planning committees, clients, and buyers, and it sets expectations for everything that follows. A strong exterior render communicates massing, materials, and context in a single glance. A weak one raises doubts before the presentation even begins.
This guide walks architects through professional exterior 3D rendering: camera strategy, context and environment, lighting and time of day, landscaping, materials, aerial views, and the mistakes that undermine otherwise good work. Whether you render in-house or brief a studio, these principles will raise the quality of every exterior image you produce.
Camera Strategy: The Most Important Decision
Before any modeling or lighting begins, the camera angle must be decided, because it determines everything else. The classic architectural view is a three-quarter aerial at roughly human-to-second-floor height, showing two facades and the roof. It is popular because it communicates massing completely and flatters most buildings.
Eye-level views are more emotional. They show what a person actually experiences approaching the building, which makes them powerful for marketing and client presentations. Use them for entrance sequences and street presence. True aerials, from drone height, establish context and are essential for large developments. A complete exterior set usually includes all three: the three-quarter hero, an eye-level arrival view, and an aerial context shot.
Camera rules that professionals follow
- Keep verticals vertical: correct perspective so walls do not lean. Converging verticals look amateurish.
- Mind the horizon: a horizon line cutting through the building looks wrong. Position it above or below the massing.
- Use realistic focal lengths: 24mm to 50mm full-frame equivalent. Ultra-wide angles distort the architecture.
- Compose with foreground: trees, streets, or landscaping in the foreground add depth and realism.
Context and Environment
A building floating in an empty void tells the viewer nothing. Real exterior renders need believable context: neighboring buildings, streets, sidewalks, and sky. For urban projects, approximate the surrounding blocks with simple massing models in muted tones so your building stands out while the context reads as real. For suburban and rural projects, terrain, vegetation, and distant landscape sell the setting.
Context accuracy matters for planning submissions, where committees want to see genuine impact on the streetscape. For marketing, context should be attractive but honest. Never hide an adjacent highway or exaggerate green space that does not exist. Misleading context creates legal exposure and angry buyers.
Lighting and Time of Day
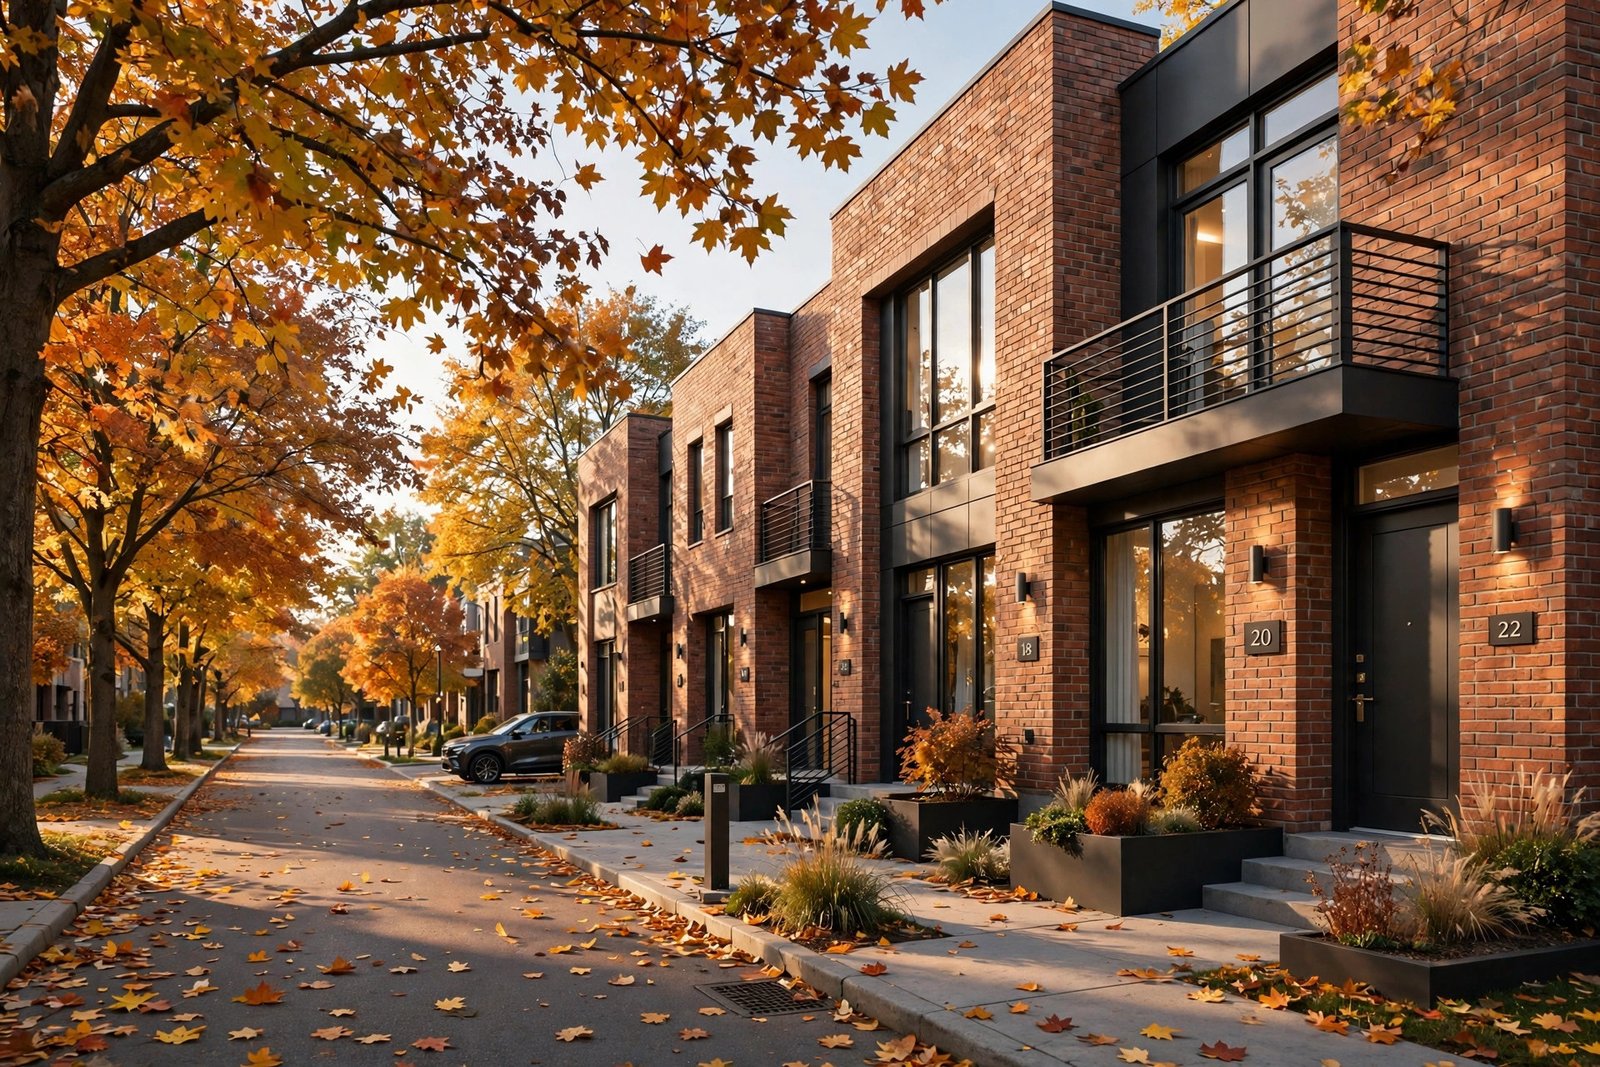
Time of day is an art direction choice that transforms the same building into completely different images.
Midday
Clear, neutral light that shows materials and colors accurately. Best for technical presentations and planning documents where honesty matters more than mood. The downside is flatness: overhead sun creates short shadows and less drama.
Golden hour
The hour before sunset produces warm, raking light with long shadows that reveal texture and form. This is the most flattering light for marketing renders and the most requested by clients. It makes almost any building look good.
Dusk and blue hour
The period after sunset when the sky turns deep blue and interior lights glow warm. Dusk shots are the classic luxury marketing image, conveying prestige and comfort. They require careful balance between the bright windows and the darkening sky.
Overcast
Soft, diffused light that suits minimalist architecture and northern climates. Overcast renders feel calm and honest, and they avoid harsh shadows on complex facades.
Choose the time of day deliberately for each view's purpose, and keep lighting consistent across a set of images meant to be seen together. Our penthouse visualization case study shows how lighting strategy varies across views in a real project.
Landscaping and Entourage
Landscaping makes or breaks exterior renders. Bare buildings look unfinished, while thoughtful planting, lawns, and hardscape make architecture feel inhabited and loved. Invest in quality 3D vegetation: trees with realistic branching, varied species, and seasonal appropriateness. A palm tree in a Scandinavian project destroys credibility instantly.
People and cars add life and scale, but use them carefully. A few well-placed figures suggest activity. Crowds of entourage people look like a stock photo collage. Cars should match the project's market positioning. Every entourage element should support the story, never distract from the architecture.
Materials and Facade Detailing
Exterior materials must survive close inspection because hero views are examined carefully. Use high-resolution textures for brick, stone, wood, and concrete, with proper bump and roughness maps so surfaces respond to raking light. Pay special attention to junctions: window frames meeting walls, cladding panel joints, and roof edges. These details are where cheap renders fall apart.
Glass deserves special care. Real glass reflects the sky and surroundings while revealing interiors behind it. Achieving that balance requires proper reflection settings and, for dusk shots, modeled interior spaces or convincing interior glow behind the glass. Flat, opaque windows are a dead giveaway of low-quality work.
Aerial Views and Masterplans
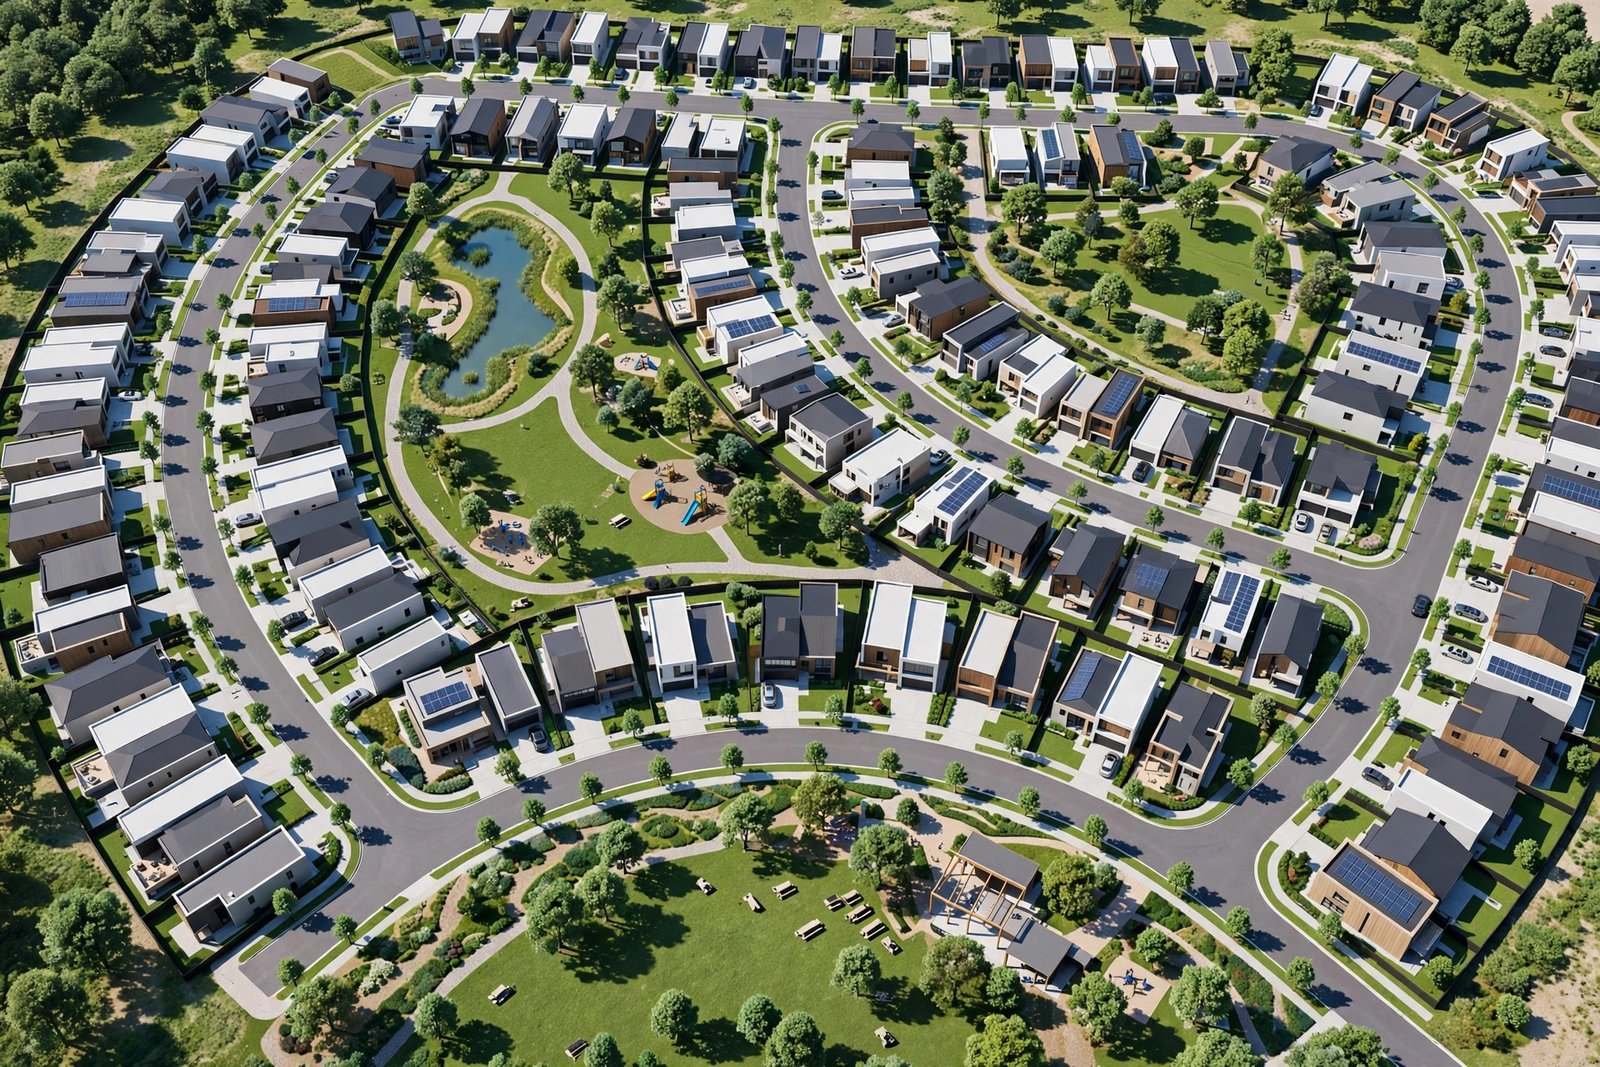
Aerial renders serve a different purpose than eye-level views: they communicate layout, scale, and relationship to surroundings. For developments, the aerial is often the image that sells the vision to planners and investors. Build accurate site context extending well beyond the property boundary, include roads and neighboring buildings, and consider seasonal vegetation that matches the region.
Drone-style low aerials, at 30 to 100 meters, are increasingly popular because they feel photographic and contemporary. They combine the context of an aerial with the detail of a ground view. If your project includes phased construction, aerials can also visualize build-out stages clearly.
Night Renders and Artificial Lighting
Night exteriors are a specialty of their own. The building becomes a composition of glowing windows, landscape uplighting, and facade accent lights against a dark sky. Successful night renders require modeling interior glow behind glass, placing landscape lights with realistic pools of illumination, and balancing the exposure so the building reads clearly without looking like a daytime image with a dark filter.
Use night views selectively. One dramatic night shot in a set of daytime images creates contrast and memorability. A full set of night images can feel monotonous and hides material quality. For residential marketing, dusk usually outperforms full night because it retains sky detail and landscape readability while still delivering that coveted glow.
Common Exterior Rendering Mistakes
- Empty context: buildings floating in grey nothingness. Always build believable surroundings.
- Wrong scale entourage: oversized trees or tiny cars betray the render instantly. Check scale against known dimensions.
- Flat lighting: midday sun with no sky interest. Choose golden hour or dusk for marketing images.
- Ignoring the roof: three-quarter views show the roof, so model it properly. A flat grey slab ruins the image.
- Overdone post-processing: excessive saturation and contrast look cheap. Grade like a photographer, not a filter app.
Exteriors and Sustainability Storytelling
Modern clients increasingly want to see environmental performance, not just aesthetics. Exterior renders can communicate green roofs, solar arrays, shading devices, and landscape strategies that support the sustainability narrative. Visualizing these features accurately strengthens planning applications and marketing alike. Our article on sustainable architecture trends explores how visualization supports green design communication.
Working With a Studio on Exteriors
When briefing a studio, provide elevations, material schedules, landscape plans, and site context information including neighboring building heights. Share reference images showing the mood you want. Approve camera angles from clay renders before detailed work begins, since camera changes late in production are expensive. To understand the full collaboration process, read our behind the scenes guide to studio production.
Frequently Asked Questions
What is the best time of day for exterior renders?
Golden hour, the hour before sunset, is the most flattering and most requested for marketing. Dusk shots with glowing windows suit luxury projects. Midday works best for technical and planning images where material accuracy matters most.
How much does an exterior 3D render cost?
Professional exterior stills typically cost $250 to $900 per image depending on complexity, with aerials at $400 to $1,200.
Do I need to provide a 3D model for exterior renders?
No. Studios can model from your 2D drawings, though supplying a 3D model saves time and cost. Provide elevations, plans, material information, and site context for the best results.
How do you make the surrounding context look realistic?
By modeling neighboring buildings as simple massing, adding streets and sidewalks, using quality vegetation, and matching the sky and lighting to the location. Good context work is often half the effort in an exterior render.
Can exterior renders be used for planning applications?
Yes, and they often are. Planning committees respond well to accurate, well-composed visuals. For planning use, prioritize accuracy over drama: correct context, realistic materials, and honest lighting matter more than golden-hour glamour.
What software is best for exterior rendering?
Lumion is fastest for exteriors and handles landscaping entourage brilliantly. V-Ray and Corona deliver the highest realism for hero marketing shots. Many professionals use Lumion for speed and V-Ray or Corona for finals, and real-time techniques keep improving every year. Evaluate engines against your actual project mix rather than marketing claims. The right tool is the one that makes your specific work faster and better.
Written by
Architecture Designing
3D Visualization Studio