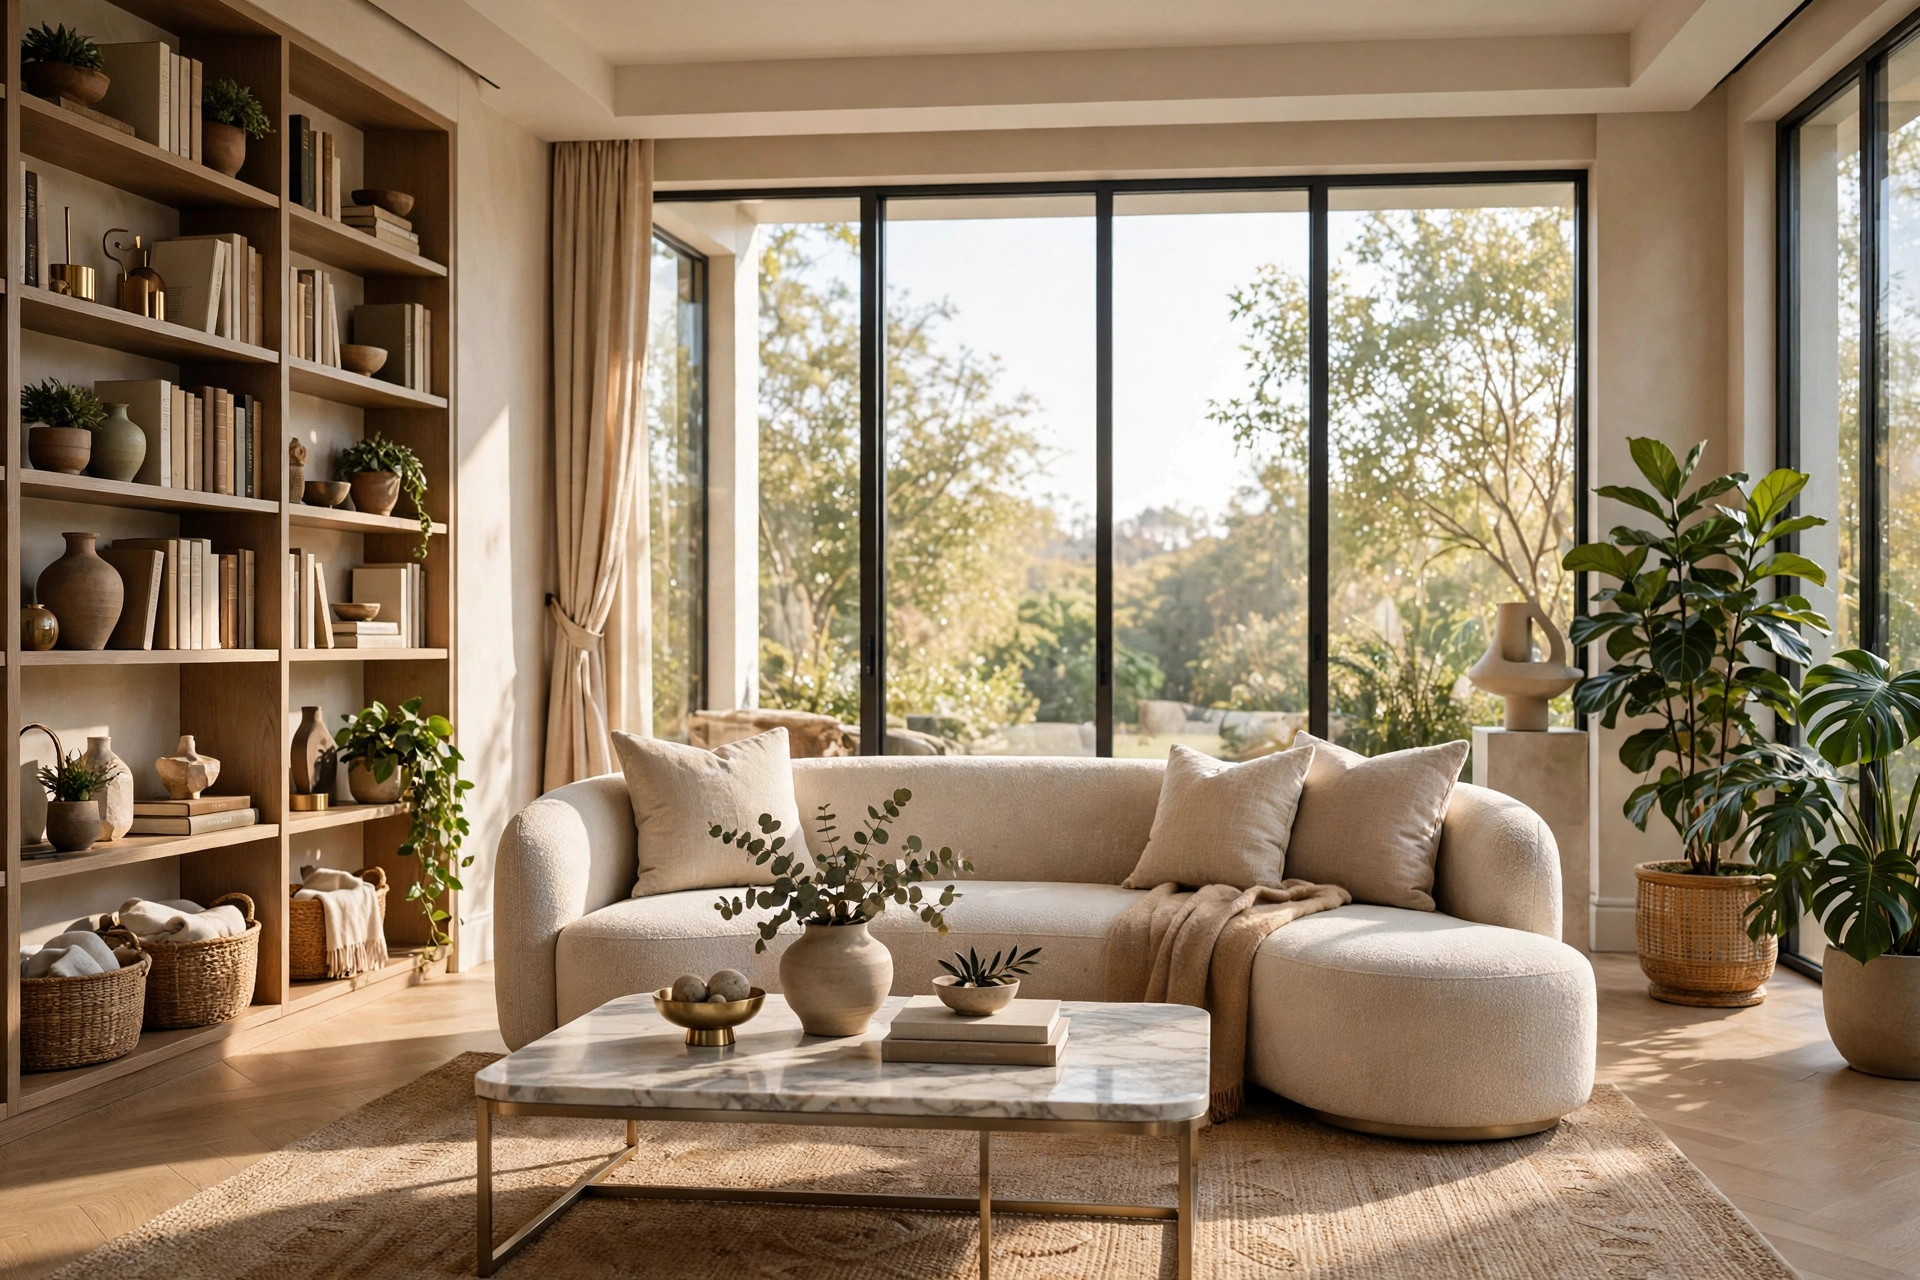
3D Rendering for Interior Designers: Complete 2026 Guide
For an interior designer, a render is the pitch. A mood board shows a direction, a swatch shows a colour, and a floor plan shows a layout, but none shows a client what the room will feel like at 7 in the evening with the lamps on. A photorealistic render does that in one image, and it turns a maybe into a yes. This guide explains how 3D rendering fits the interior design workflow, what it costs in 2026, which views every project needs, and how to present renders so clients approve the scheme.
Why Interior Designers Need Renders, Not Just Mood Boards
Mood boards sell a feeling, but they leave hard questions unanswered. Will the sofa fit between the window and the fireplace? Does the pendant hang too low over the island? Does the walnut floor fight with the oak table? A client cannot answer those questions from a board of torn images. A render answers them in one view, at true scale, with the actual materials and the actual light. It turns a discussion about taste into a discussion about a room.
Renders also protect the designer's fee. A client who approves a scheme from a render has approved the real thing: the layout, the furniture, the finishes, and the lighting. That approval is specific enough to order from, and it stops the late changes that eat profit. Designers who present renders report fewer revision rounds and faster sign-off, because the client has already seen the result. Our interior rendering cost guide shows the room-by-room prices, and the cost of one or two views is small against a single avoided redesign.
How Rendering Fits the Interior Design Workflow
Rendering slots into the design process at three points. At concept stage, a single hero view of the main room tests the idea: does the palette work, does the layout breathe, does the client love it? This view is usually loose and fast, made while the scheme is still moving. At design development, the full view set is built, living room, kitchen, bedroom, and bathroom, each with final furniture and materials. This is the set the client approves and the contractor builds from. At presentation stage, the renders become the sales tool: printed boards, a tablet walkthrough, and a PDF the client keeps.
The workflow matters because renders made too early are wasted. A render built before the furniture is chosen has to be rebuilt when the sofa changes, and one built before the lighting plan is final has to be relit. The right order is: lock the layout, choose the key furniture pieces, confirm the materials, then render. Designers who send a clean model or a dimensioned plan with a material schedule get faster, cheaper renders, because the studio spends its time on light and styling instead of guessing dimensions. Our briefing checklist lists exactly what a studio needs, and following it saves at least one revision round.
What Interior Rendering Costs in 2026
In 2026 a single interior view costs 200 to 800 dollars, with most living rooms and kitchens between 350 and 600 dollars. A simple bedroom or bathroom costs less, usually 200 to 450 dollars, while a double-height living room or a detailed kitchen with bespoke joinery sits at the upper end. A full package for one home, with six to eight views, usually costs 2,000 to 4,500 dollars. A whole-house package with ten or more views, including an exterior and a 3D floor plan, costs 3,500 to 7,000 dollars. Our per-image cost guide gives the full breakdown across every deliverable.
Three things move the price. The first is furniture: a room full of bespoke pieces costs more to model than a room with standard items, so sending the exact product names and links saves money. The second is styling: a lived-in room with books, plants, and table settings takes longer than an empty showroom, but it is the styling that sells the scheme. The third is revisions: most studios include two to three rounds per view, and extra rounds are billed separately. The practical way to control cost is to agree the view list with the client before work starts, and to reuse the same hero views across the presentation and the portfolio.
The Views Every Interior Project Needs
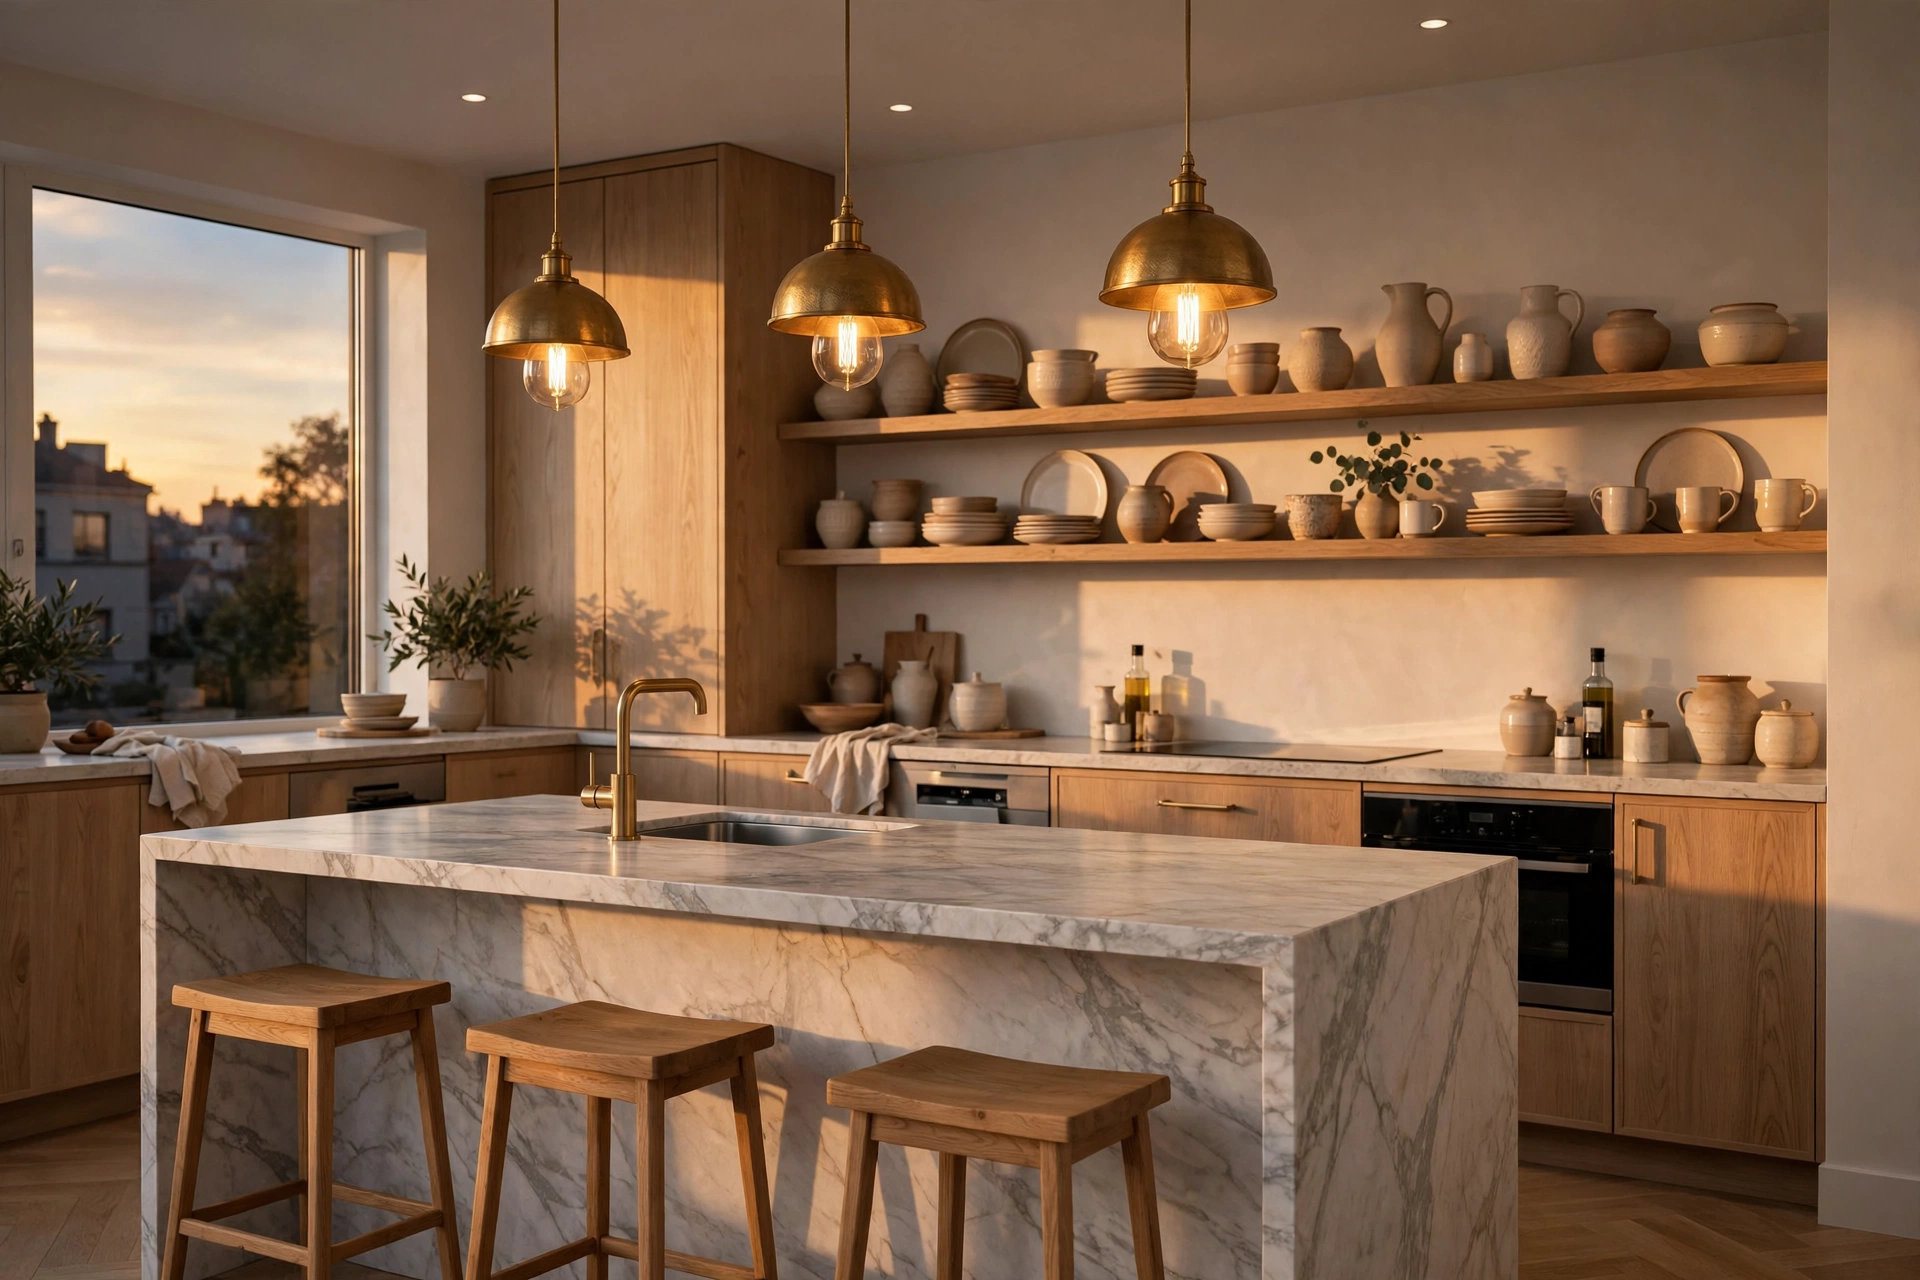
An interior package is built around the rooms the client uses most. The living room is the hero view, taken from the corner that shows the seating, the windows, and the light in one frame. The kitchen is the second view, because clients judge it hardest, and it needs to show the island, the worktop, and the storage working together. The master bedroom is the third, lit warmly, with the bed dressed and the windows showing the view outside. A bathroom view proves the tiling and fittings, and a dining view shows the room set for an evening meal.
The camera matters too. A slightly wide lens, around 24 to 28 millimetres, shows the whole room in one image, which is what a presentation needs, but the lens must not be so wide that the room looks twice its real size. Clients notice when the real room is smaller than the picture, and trust is hard to rebuild. Eye-level cameras feel honest, while a camera placed too high makes the room look like a dollhouse. Our photorealistic materials guide explains how wood, stone, fabric, and metal are built so they read as real.
- Living room hero view: the first image the client sees, showing layout, light, and scale.
- Kitchen view: the working heart of the home, showing island, worktop, and storage.
- Master bedroom: the private room, lit warmly, bed dressed and styled.
- Bathroom view: tiling, fittings, and mirror light.
- Dining view: the social space, set for an evening meal.
- Detail view: one close shot of joinery, a fireplace, or a feature wall.
Presenting Renders So Clients Say Yes
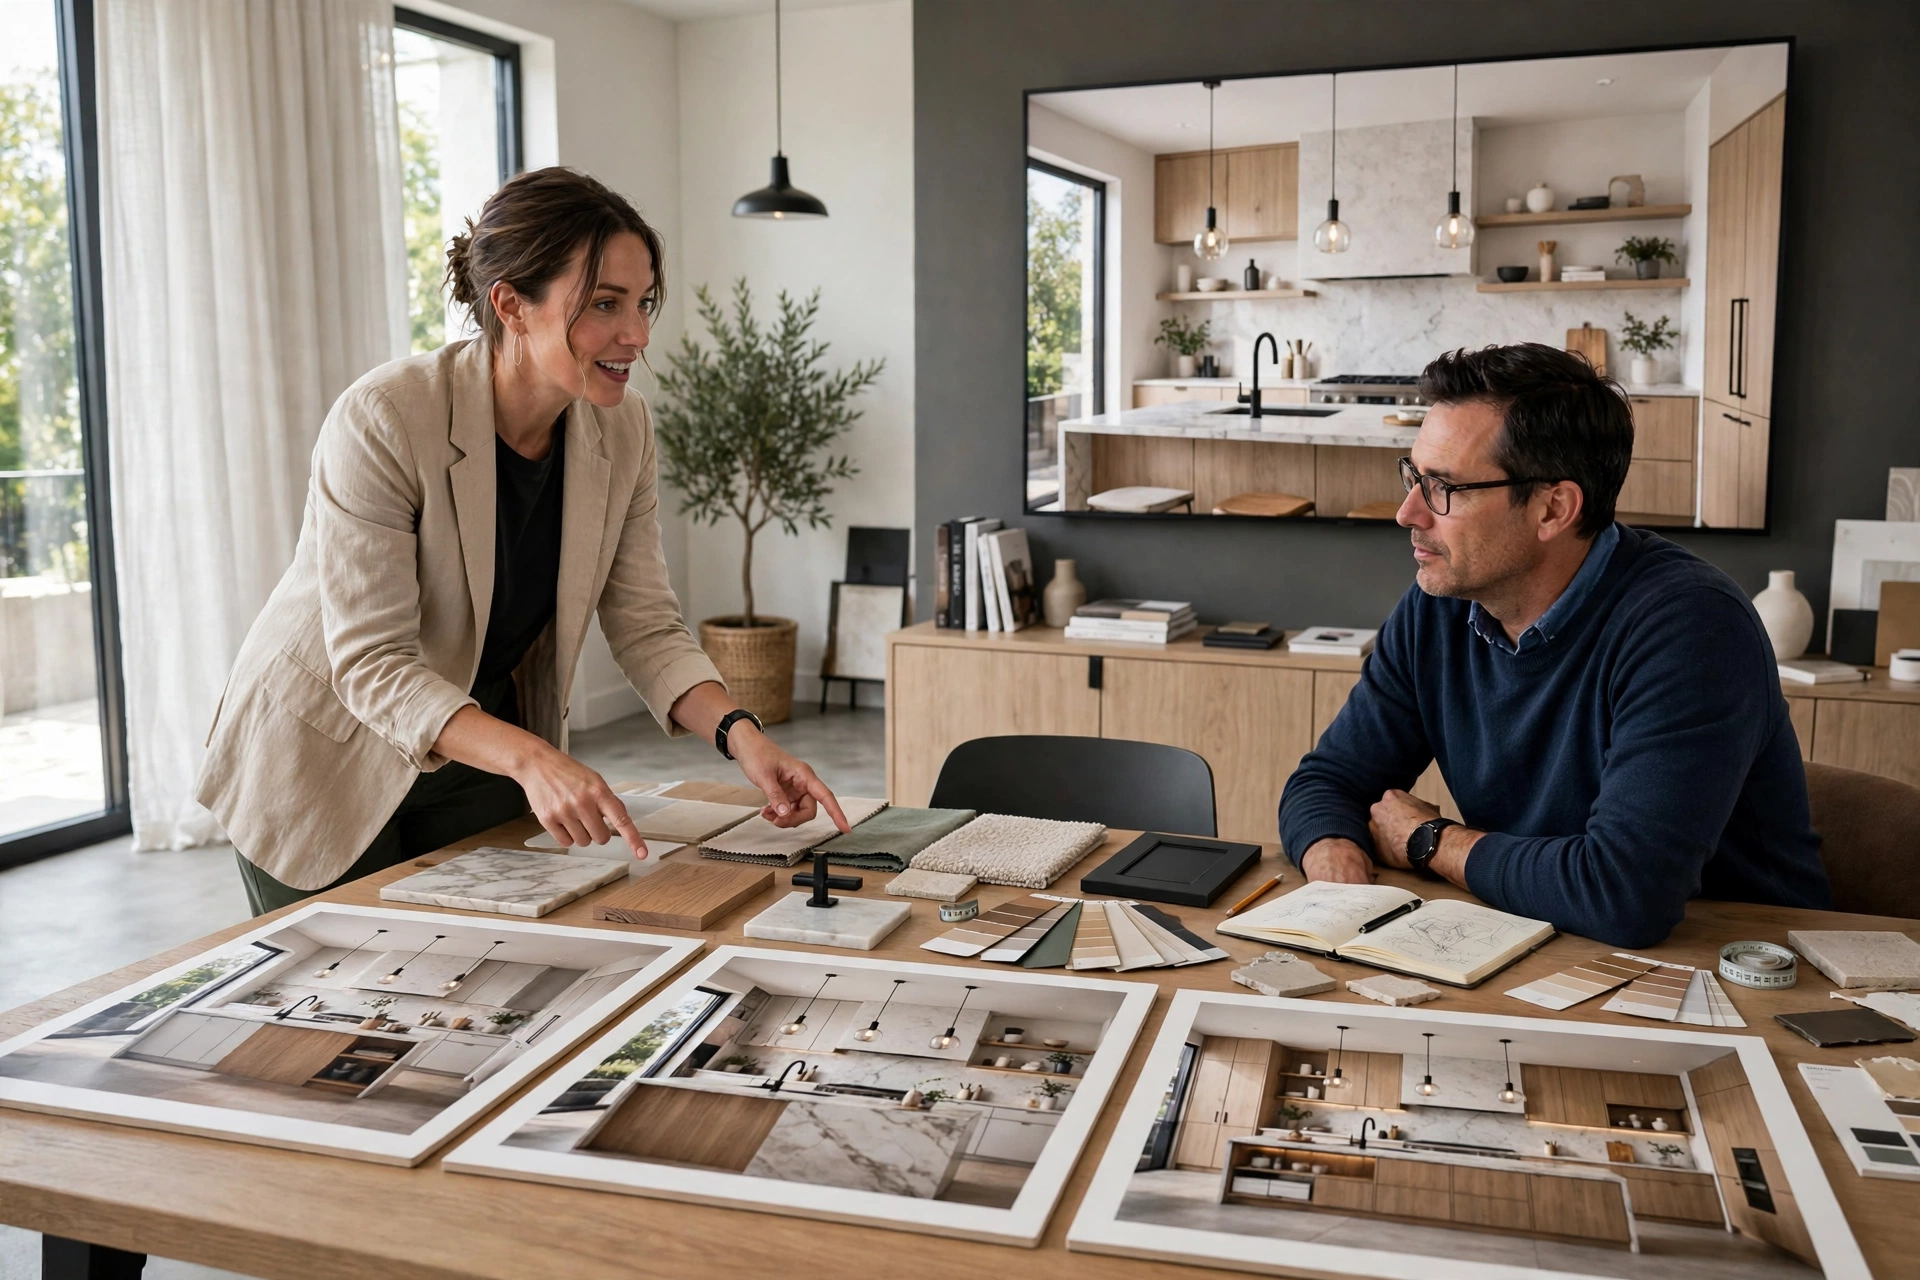
The presentation decides whether a good render closes the job. Show the hero view first, full screen, with no talking over it, and let the client react before you explain it. Then walk through the views in the order the client will use the rooms, from the front door to the bedroom, so the presentation feels like a walk through the home. Keep the material samples beside the screen, so the client can touch the fabric while looking at the render. That pairing, image plus sample, is what makes a scheme feel real.
Limit the options. A client shown three living room schemes will pick the safest one, or ask for a fourth. A designer who presents one confident scheme, with the render as proof, gets a faster yes and a better result. If a client asks for changes, collect them all in one list, agree them in writing, and send one consolidated revision, because split feedback burns revision rounds fastest. Our post-production guide explains the finishing step that makes renders presentation-ready, from exposure and colour to the final export.
Choosing Software and a Studio Partner
Some designers render in-house and some outsource, and the right choice depends on volume. A designer doing one project a month is usually better off outsourcing: a studio delivers in days, and the cost per view is lower than a licence, a workstation, and the learning time. Weekly presenters may justify an in-house seat of a real-time tool for quick concepts, while still outsourcing the final photoreal images. The honest test is time: if rendering takes hours you could spend designing, outsource it.
When choosing a studio, ask for interior work specifically, not just exteriors, because interior lighting and materials are a different skill. Check the portfolio for rooms that look lived in rather than empty, and for light that feels like a real window rather than a studio lamp. Ask about turnaround, revision rounds, and file delivery, and confirm the studio works from your drawings and material schedule. A good studio partner learns your style over two or three projects, and by the fourth the renders need almost no briefing.
Frequently Asked Questions
How much does 3D rendering cost for an interior designer?
A single interior view costs 200 to 800 dollars in 2026, with most living rooms and kitchens between 350 and 600 dollars. A full package of six to eight views usually costs 2,000 to 4,500 dollars.
How long does an interior render take?
A single interior view takes 3 to 5 working days, and a full package of six to eight views takes 2 to 3 weeks, including revisions. Rush delivery in 24 to 48 hours is possible for single views with complete files.
What do I need to send a rendering studio?
A dimensioned floor plan or a clean 3D model, a material schedule with exact finishes, furniture product names or links, reference images, and the list of views you need. The more complete the input, the faster and cheaper the render.
Can renders show my exact furniture and materials?
Yes, when you send the product names, links, or specification sheets. Studios model the actual pieces and apply the real finishes, so the render shows the room the client will get, not a generic version.
How many revision rounds are included?
Most studios include two to three revision rounds per view in the base price. Extra rounds are billed separately, so collect all client comments into one list per round.
Should I render in-house or outsource?
Outsource when you do a few projects a month: it is cheaper than a licence, a workstation, and the learning time, and it frees your hours for design. Bring it in-house only when you present new concepts every week and the volume justifies it.
A render is the moment a design stops being an idea and becomes a room a client can walk into. Designers who use renders well win more work, approve schemes faster, and protect their fees from late changes. The formula is simple: lock the layout, choose the furniture, confirm the materials, then render the rooms that matter and present one confident scheme. If you are an interior designer with a project to present, send us your plans and material schedule for a fixed quote and a timeline.
Written by
Architecture Designing Team
3D Visualization Studio