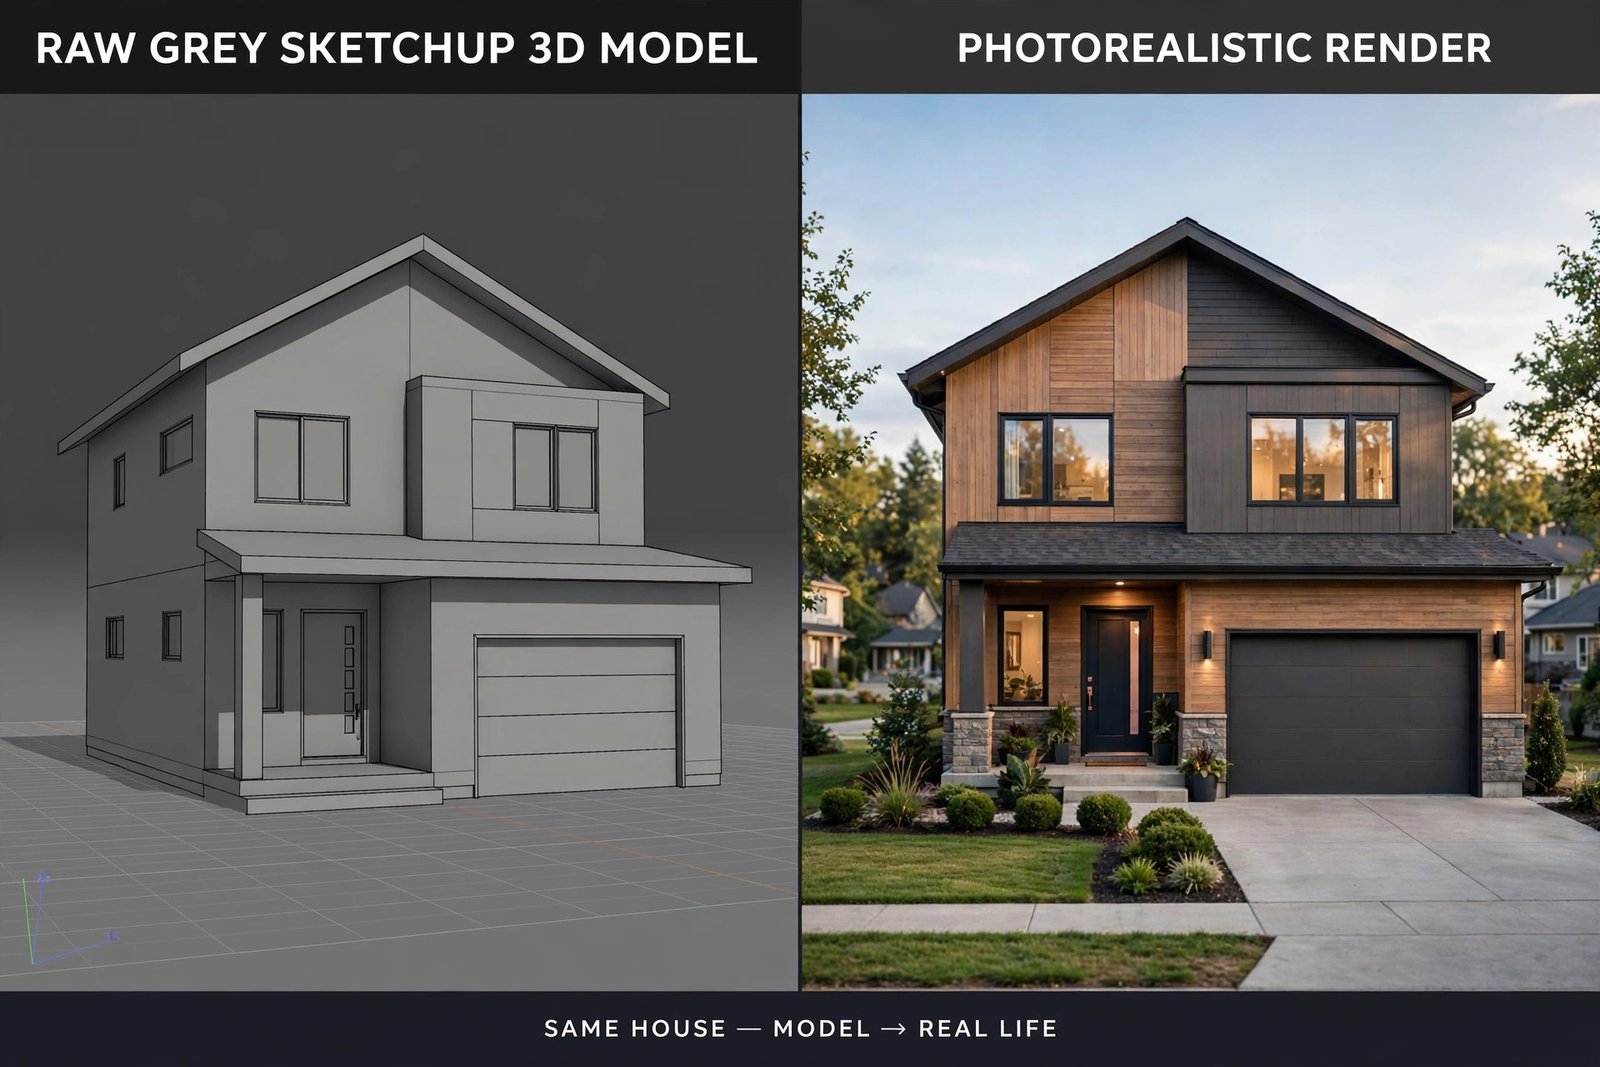
SketchUp to Photorealistic Render: The Complete Workflow
SketchUp is where millions of architectural designs begin. It is fast, intuitive, and perfect for developing ideas. But a raw SketchUp model with flat colors does not sell a design. The journey from that simple model to a photorealistic render involves modeling discipline, smart exporting, material work, lighting, and post-production. Done right, it is a repeatable workflow that turns concepts into compelling images every time.
This guide walks through the complete SketchUp to photorealistic render workflow step by step: preparing and cleaning your model, organizing it properly, exporting to your render engine, building materials and lighting, producing test renders, and finishing in post-production. Follow it consistently and your output quality will jump immediately.
Step 1: Clean and Prepare Your SketchUp Model
Every render problem that appears later was usually born in a messy model. Before exporting anything, audit your SketchUp file. Purge unused components, materials, and layers through the Model Info statistics panel. A model bloated with unused content exports slowly and crashes render engines.
Check for the classic SketchUp issues: reversed faces, which render as dark or invisible surfaces, internal faces hidden inside walls that waste render time, and overlapping geometry that causes flickering. Fix face orientation so all visible surfaces show the white front face outward. Delete anything the camera will never see, including full interiors if you are only rendering exteriors. A clean model renders faster and with fewer artifacts.
Model cleanup checklist
- Purge unused components, materials, and styles
- Fix all reversed faces on visible surfaces
- Remove hidden internal geometry and duplicate faces
- Delete or hide content the camera will never see
- Check model scale and units are correct
Step 2: Organize With Tags and Groups
Professional SketchUp models are organized; amateur ones are a single mass of loose geometry. Group related elements logically: walls, roof, windows, landscape, furniture. Assign tags (formerly layers) to control visibility: separate tags for entourage, for interior details, and for context buildings.
This organization pays off twice. First, it lets you export cleanly, sending only what the render needs. Second, it makes the model editable when clients request changes, which they will. A well-organized model also imports more reliably into other software. Good file hygiene matters throughout 3D work, as we explain in our guide to managing 3D files across versions.
Step 3: Choose Your Render Engine and Export
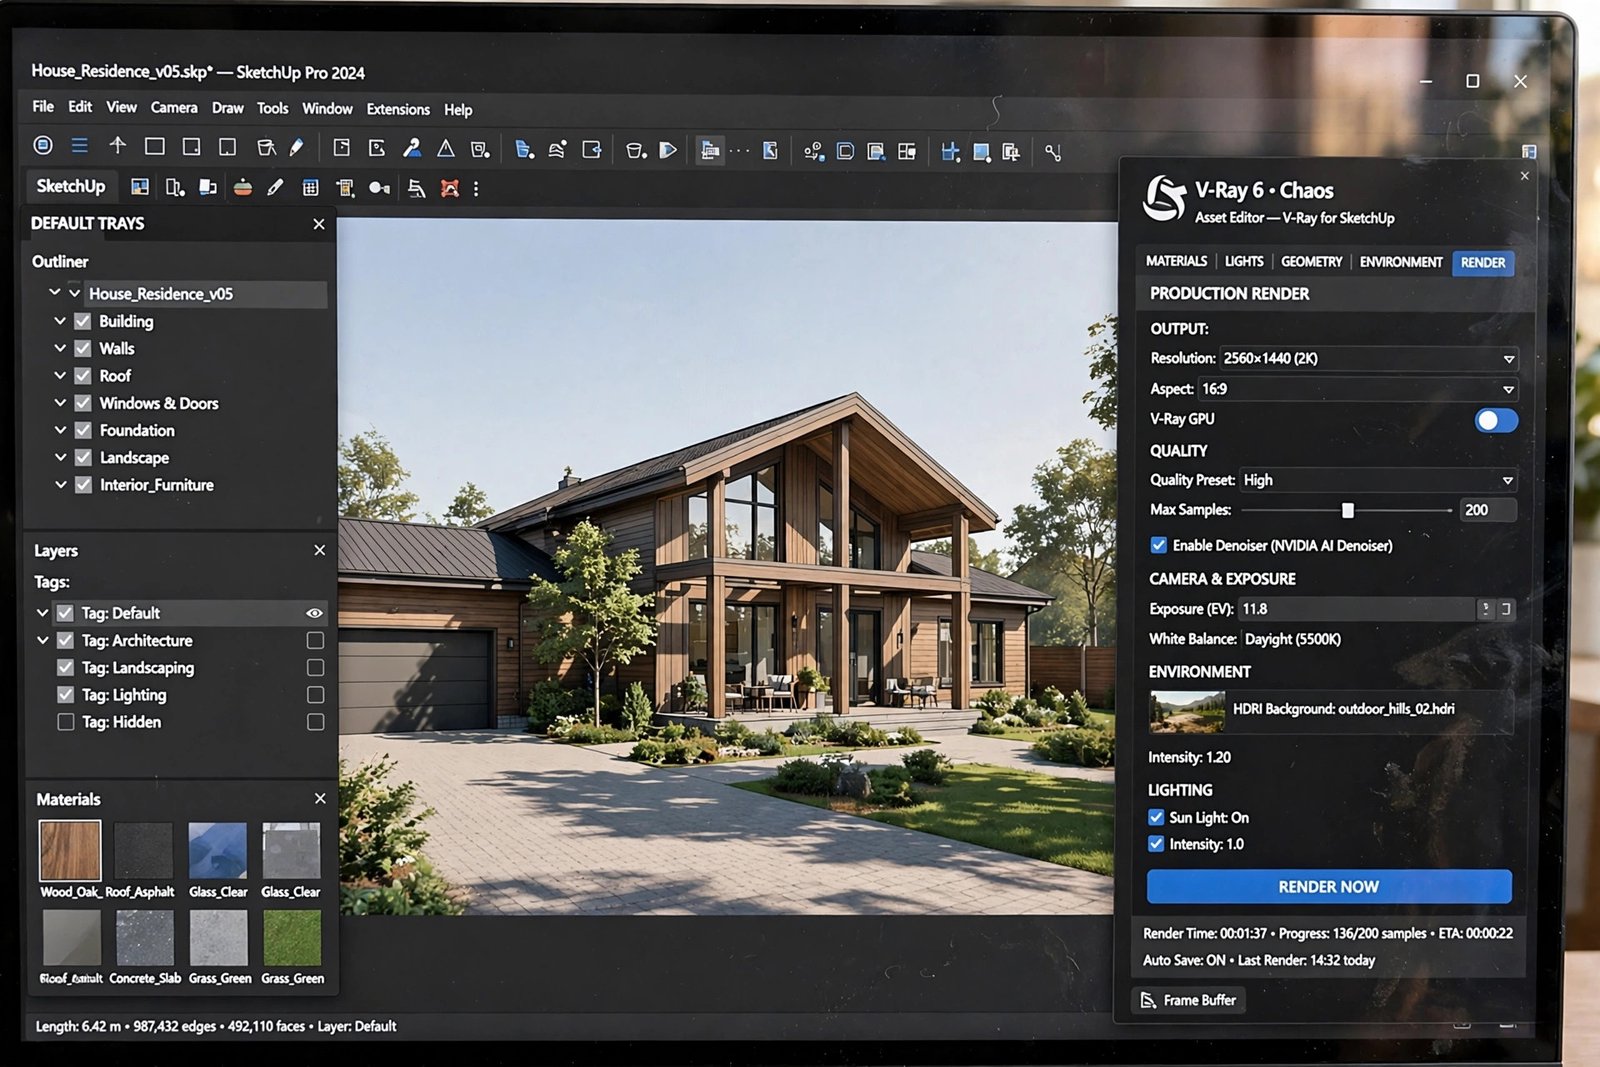
You have three main paths from SketchUp to photorealism. The first is rendering inside SketchUp with V-Ray for SketchUp, which keeps everything in one application and suits architects who want to stay in a familiar environment. The second is Lumion with LiveSync, where your SketchUp model updates in real time inside Lumion as you edit, ideal for fast iterations and animations. Our Lumion effects guide helps you get the most from this path.
The third path is exporting to 3ds Max for V-Ray or Corona rendering, the choice of dedicated visualization studios chasing maximum quality. Export via FBX or use dedicated exporter plugins, and verify that groups, materials, and scale survive the transfer.
Step 4: Build Realistic Materials
This is where renders transform. Replace SketchUp's flat colors with proper PBR materials: high-resolution texture maps for color, plus roughness, bump, and reflection maps that describe how surfaces interact with light. Wood needs visible grain and soft reflections. Concrete needs subtle color variation and bump. Glass needs proper transparency and reflectivity.
Work from reference photography of the real materials you are specifying. Match not just the color but the character: is this wood rough-sawn or polished, is the concrete board-formed or smooth? Build a personal material library as you go, because reuse compounds your speed on every future project. Quality assets matter enormously here, which is why professionals invest in curated libraries rather than random downloads.
Step 5: Set Up Lighting
Lighting makes or breaks the render, and the workflow is always the same: establish natural light first, then add artificial sources. For exteriors, set the sun position and sky for your chosen time of day. Golden hour flatters most buildings; overcast suits minimalist designs. For interiors, get daylight through windows working before touching a single lamp.
Add artificial lights sparingly using IES profiles for realistic lamp behavior. Balance warm interior light against cooler daylight for that alive, photographic feel. Then resist the urge to keep adding lights. Shadows and darkness create the depth that makes images feel real.
Step 6: Compose the Camera
Lock your camera early and compose deliberately. Use the three-quarter view for hero exteriors, eye-level for arrival sequences, and realistic focal lengths that avoid distortion. Keep verticals vertical. Add foreground elements for depth. A well-composed average render beats a poorly composed technically perfect one every time, because composition is what the viewer feels first.
Step 7: Test Renders and Iteration
Never go straight to final quality. Render small, fast test images to check lighting balance, material behavior, and composition. Fix problems at low resolution where iteration is cheap. Common issues to catch early include blown-out windows, materials that look wrong under the chosen light, and entourage at the wrong scale.
Share clay or draft renders with clients or colleagues for camera approval before investing in final rendering. Changing a camera angle after final renders is one of the most expensive mistakes in visualization. The approval discipline that professional studios use is described in our studio production breakdown.
Step 8: Final Render Settings
For final images, raise resolution to at least 3000 pixels on the long edge for print flexibility, increase sampling quality until noise disappears, and render the passes you will want in post-production: the beauty pass plus ambient occlusion, material masks, and sometimes separate light passes. Rendering takes time, so schedule it realistically. Heavy scenes can take hours per image, and interrupting renders causes problems, as our troubleshooting article on rendering performance issues explains.
Step 9: Post-Production
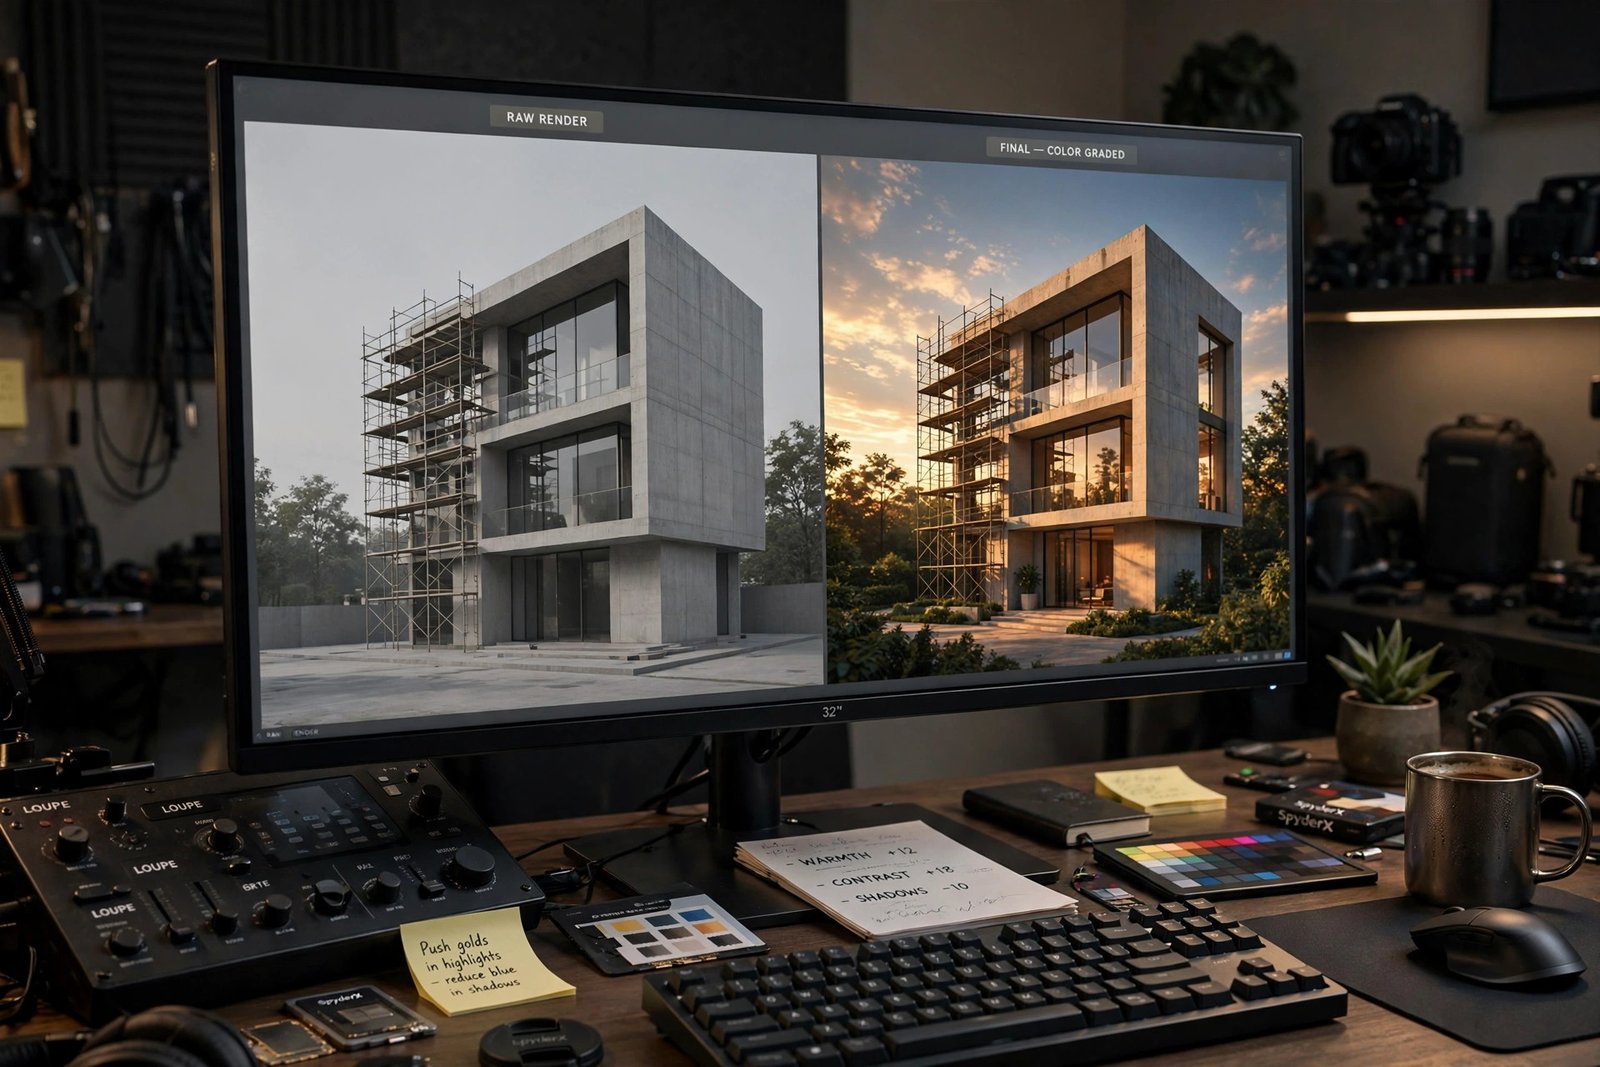
The raw render is only 90 percent of the image. In Photoshop or similar tools, apply subtle color grading, gentle contrast curves, and careful sharpening. Add atmospheric touches like subtle sky enhancement or foreground blur if they serve the image. Composite entourage elements like people if they were not rendered in 3D. The guiding rule is invisibility: professional post-production should feel like photography, never like effects.
Common Workflow Mistakes
- Rendering from a messy model: clean first, always. Garbage in means artifacts out.
- Skipping test renders: problems caught early cost minutes; caught late, they cost days.
- Overcomplicating materials: master the fundamentals of a few materials before chasing exotic shaders.
- Ignoring scale: wrongly scaled textures and entourage instantly betray a render. Check against real dimensions.
- No post-production: raw renders look unfinished. Budget time for grading on every image.
Building Speed Through Templates and Libraries
The professionals who produce great renders quickly are not working faster, they are reusing more. Build template SketchUp files with your preferred tags, scenes, and export settings already configured. Maintain a material library of proven PBR materials so you never build wood or concrete from scratch twice. Keep a entourage library of trees, people, and cars that you know look good.
Each project should make the next one faster. After finishing a render, save the successful materials, lighting setups, and entourage arrangements into your libraries with clear names. Within a year, this compound investment can cut your per-image production time in half while raising consistency across your work.
Finally, document your own workflow as you refine it. Note which export settings work, which material values you return to, and which lighting setups suit different project types. A personal workflow document turns scattered experience into a repeatable system, and it makes training collaborators dramatically easier when your practice grows.
Frequently Asked Questions
Can SketchUp produce photorealistic renders?
SketchUp itself is a modeler, not a renderer, but models built in SketchUp can absolutely become photorealistic images through V-Ray for SketchUp, Lumion, or export to 3ds Max with V-Ray or Corona. The model is the foundation; the render engine and artist skill create the realism.
Should I render in SketchUp or export to 3ds Max?
Stay in SketchUp with V-Ray or Lumion for speed and simplicity, especially for concept work and quick turnarounds. Export to 3ds Max when chasing maximum quality for hero marketing images, since the 3ds Max ecosystem offers deeper tools and bigger asset libraries.
Why does my exported model look broken in the render engine?
Usually reversed faces, incorrect scale, or lost material assignments during export. Clean the model first, verify units match, and check the export settings. Our guide to fixing common Lumion errors covers texture issues that frequently trace back to export problems.
How long does the full workflow take for one image?
For a professional, a single exterior hero image takes two to five days including modeling cleanup, materials, lighting, rendering, and post-production. Interiors take similar time. Speed comes with practice and reusable asset libraries.
What is the most important skill in this workflow?
Lighting. Beginners obsess over render settings, but professionals know that understanding how light behaves matters more than any software feature. Study photography, observe real light daily, and your renders will improve faster than through any tutorial.
Do I need expensive plugins for good results?
No. The core workflow needs only SketchUp and one render engine. Quality texture libraries help enormously and are worth the investment, but exotic plugins are optional. Master the fundamentals before buying tools.
Written by
Architecture Designing
3D Visualization Studio