3D Rendering for Architecture Competitions: Win in 2026
Architecture competitions are won and lost in the first ten seconds. Before a jury reads a word of your concept text, they have already looked at your images and formed an opinion. A strong render makes them slow down and read. A weak one makes them move on to the next board, no matter how good the idea is. The hard truth: the visuals are not decoration, they are the argument.
This guide explains how to make 3D renders for architecture competitions that win: what a winning entry includes, which views matter most, what it costs in 2026, how to tell the story, and the mistakes that get entries ignored. The same rules apply whether it is your first open competition or your fiftieth invited one.
Why Competition Renders Decide Winners
A jury reviews dozens or hundreds of entries in a single day, and the first round is fast. Jurors scan boards, not essays. Entries with clear, atmospheric, memorable visuals survive the first cut far more often than entries with dense drawings and weak renders. The render is the first filter.
A competition entry must also communicate a building that does not exist yet to people who have never visited the site. Plans and sections explain the logic. Renders explain the experience: walking into the courtyard, sitting by the window, arriving at the entrance at dusk. Juries award projects they can feel, not just ones they can understand.
The render should not lie. The best competition visuals are honest about the design and generous with atmosphere. They show the real massing, materials, and context, but choose the light, the season, and the viewpoint that make the design legible and memorable.
What a Winning Competition Entry Includes
Most competitions ask for two to four boards, and the renders must work as a set. A strong entry usually includes these images, in order of importance.
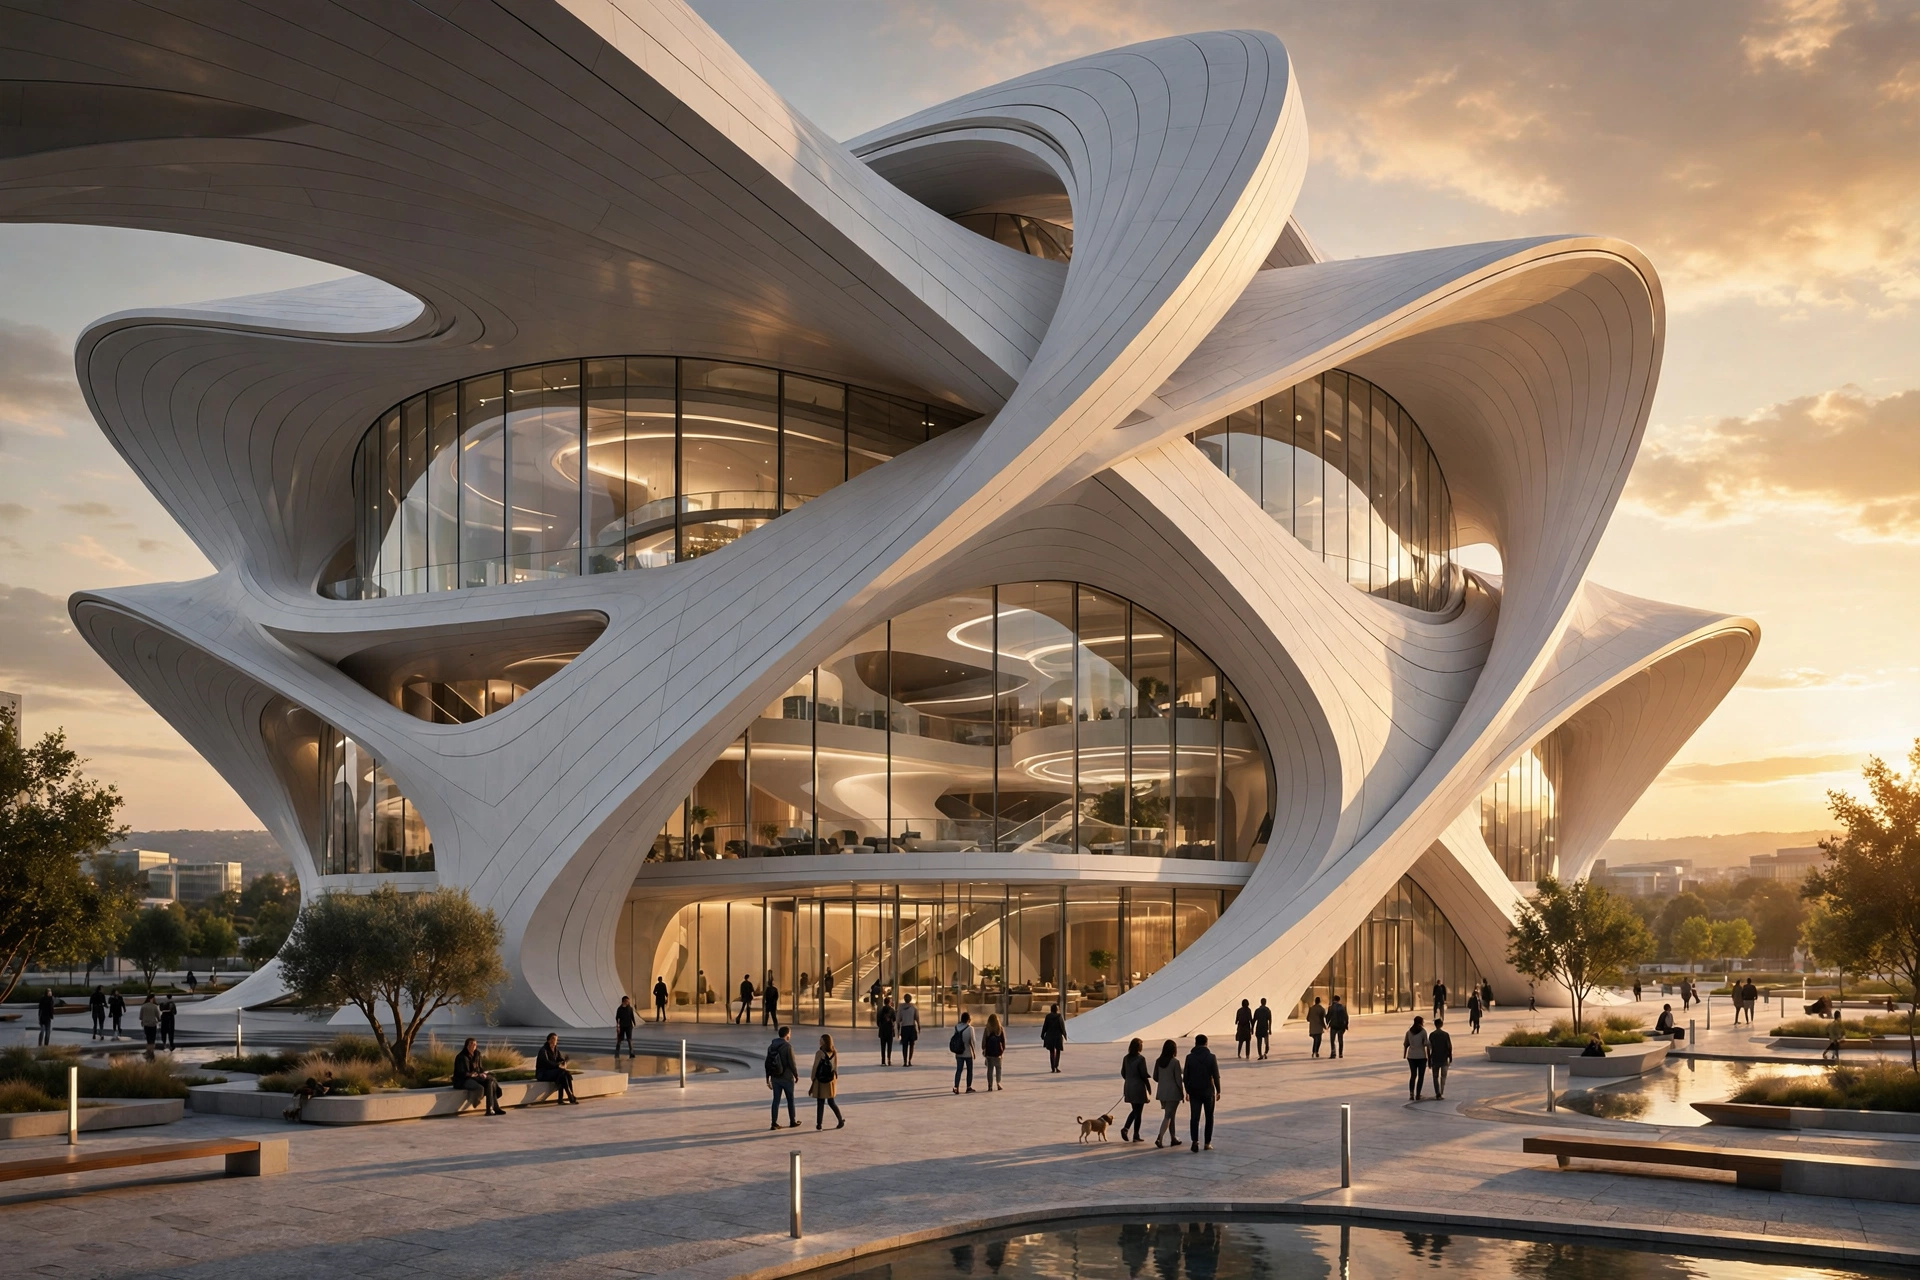
- The hero view: one unforgettable exterior image that sums up the project. It should show the building in context, with the key idea visible at a glance.
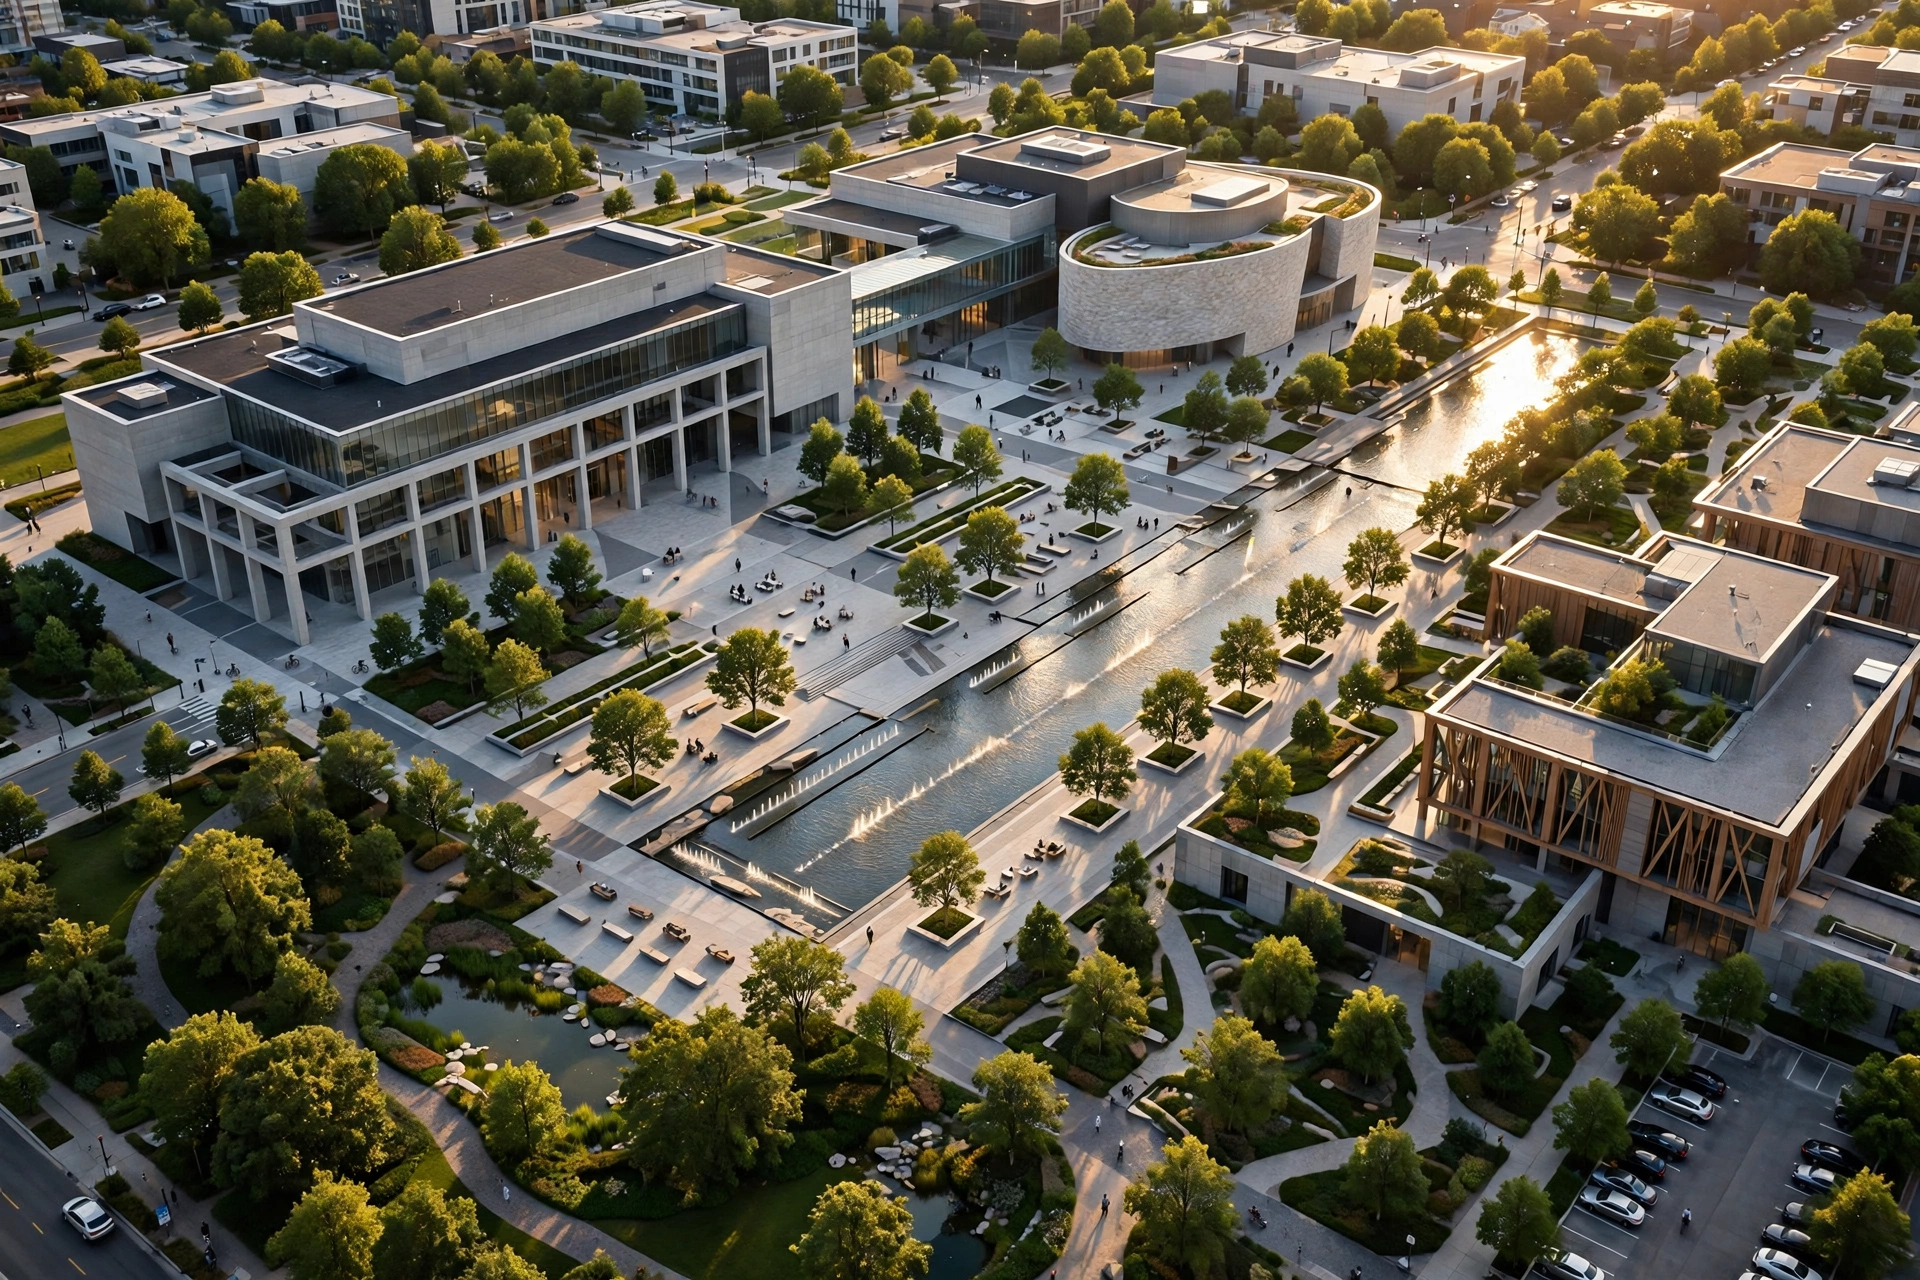
- The aerial view: a high-angle image showing the building in its urban or landscape context, the approach, and the relationship to neighbours.
- The key interior: one interior that proves the design works from the inside, usually the main hall or atrium. It should show scale, light, and how people use the room.
- The detail or material view: a close image of the facade, the entrance, or a signature detail that shows craft and material thinking.
- The diagram or axonometric: a clean diagrammatic view that explains the concept in one image.
Competition Rendering Cost in 2026
Competition work is usually priced as a package, because the images are designed as a set. These are realistic 2026 ranges from professional studios.
- Single hero render: $400 to $900. One exterior view with full context and post-production.
- Small package, 3 images: $1,200 to $2,500. Hero, aerial, and one interior, with a consistent look.
- Standard package, 5 images: $2,000 to $4,500. The full set: hero, aerial, interior, detail, and diagram.
- Large package, 8 to 10 images plus animation: $4,000 to $9,000. Full board set with a short fly-through film.
Competition work often costs more per image than a standard client render, because the studio has less time, the model usually arrives rough, and the images carry more weight. Rush fees are common: a 48-hour turnaround can add 30 to 50 percent. The best way to control cost is to enter early. Give the studio two weeks instead of three days and the same package costs less and looks better. Our 3D rendering cost per image guide breaks down the standard rates.
The Views That Matter Most
Not every view is equal. Juries respond to images that answer their questions: what is the idea, how does it sit in its place, and what does it feel like to be there?
The hero exterior
Take the hero view from the approach a visitor uses, at eye level or a gentle three-quarter angle. Avoid extreme wide-angle distortion, which makes buildings look like toys. A focal length between 35mm and 50mm keeps proportions honest. Our camera angles guide covers the focal lengths professionals trust.
The aerial
The aerial proves the project belongs on its site. Show the streets, the neighbours, the landscape, and the approach. A floating building on a white background tells the jury nothing about context.
The interior
Choose the room where the design idea is most visible. If the concept is about light, show the room where the light lands. If it is about gathering, show people using the space at a believable scale.
The dusk shot
One twilight image is almost always worth including. Dusk renders show glazing, interior warmth, and the building as a lantern in its setting.
Storytelling and Atmosphere
The entries that win are rarely the ones with the most polygons. They are the ones with the clearest story. Before rendering starts, write one sentence that says what the project is about: "A library that brings daylight deep into a dense city block." Every image should support that sentence. If an image does not, it is decoration, and decoration wastes board space.
Atmosphere comes from specific choices, not from filters. The season, the weather, the time of day, and the people in the scene all say something about the project. A snowy render suits a Nordic cultural building. A busy market scene suits a community hall. A quiet courtyard suits a memorial. Match the mood to the brief, and keep it consistent across the set. A jury notices when one image is a bright summer day and the next is a moody winter dusk with no reason for the change.
Entourage deserves care. People in renders should look like the people who will actually use the building: a mix of ages, realistic clothing, natural poses, and correct scale. Fashion-model figures in a public building break the believability of the whole image.
Technical Rules and Common Disqualifiers
Competitions have rules, and renders are where teams most often break them. Read the brief before the studio starts work.
- Anonymity: many competitions are anonymous. No studio logos, no firm names, no watermarks. Check whether the render files carry metadata that identifies you.
- Board size and resolution: deliver exactly the board size requested, usually A1 or A0 at 150 to 300 dpi. A small render looks soft in print, and a wrong-size board can be rejected.
- Image honesty: do not add buildings, trees, or landscape features that are not in the proposal. Jurors check renders against plans, and invented context counts as misleading.
- File formats: supply the formats the brief asks for, usually high-resolution TIFF or PNG for print and JPG for digital submission.
- Deadline discipline: competition deadlines do not move. Build in a buffer of at least two days for printing and submission, and agree the delivery schedule in writing.
The most common technical failure is simpler: low resolution. A hero render printed at A1 needs to be at least 7,000 pixels wide. Confirm the pixel dimensions before they start, not when the boards are at the printer.
How to Brief a Studio for a Competition
A competition brief differs from a normal client brief, because the studio needs to understand the idea, not just the building. Send the competition brief itself, the site photos and survey, your concept diagrams, and the model. Mark the views you want, the story each image should tell, and the board layout if you have one. Say which images are the priority if time runs short, because it often does.
Agree on the revision structure up front. Competition projects usually need two rounds: one after the first draft views, and one final round for polish. More rounds cost time you may not have. Our guide to briefing a rendering studio has the full checklist, and our rendering portfolio tips show how to present competition work once the results are in.
Frequently Asked Questions
How much does competition rendering cost in 2026?
A single hero render costs $400 to $900. A standard package of five images costs $2,000 to $4,500, and a large package with animation costs $4,000 to $9,000. Rush delivery can add 30 to 50 percent.
How many renders should a competition entry include?
Three to five strong images is the sweet spot: a hero exterior, an aerial, one key interior, and one or two supporting views. More images only help if each one shows something new.
How long does competition rendering take?
A three-image package takes 7 to 10 working days. A five-image package takes 10 to 15, and a package with animation takes 3 to 4 weeks. Enter early: a rushed job costs more and looks worse.
Can I use AI rendering tools for a competition?
AI tools suit early concept exploration, but most juries can spot an AI image, and many competitions require you to declare how images were made. Use AI for studies and a professional studio for the final boards.
Should competition renders show people?
Yes, but sparingly and believably. People show scale and use, and a well-placed figure can make a space feel alive. Keep figures realistic, correctly scaled, and matched to the project: the actual users of the building.
What resolution do competition renders need?
For an A1 board printed at 150 dpi, the hero render should be at least 7,000 pixels wide. Confirm the board size and dpi in the brief and give those numbers to the studio before work starts.
Make Your Entry the One They Remember
Competitions reward clarity, honesty, and atmosphere. The winning entries are where every image supports one clear idea, the building sits believably in its place, and the jury can feel what it would be like to stand there. Start early, brief the studio on the story as well as the building, and spend your budget on five excellent images, not ten average ones. If you have a competition deadline coming up, talk to our studio. Send us the brief, the model, and the date, and we will tell you honestly what is achievable, what it costs, and how we will make your entry the one the jury remembers.
Written by
Architecture Designing Team
3D Visualization Studio